Solo hiking the Larapinta Trail in Australia’s red centre
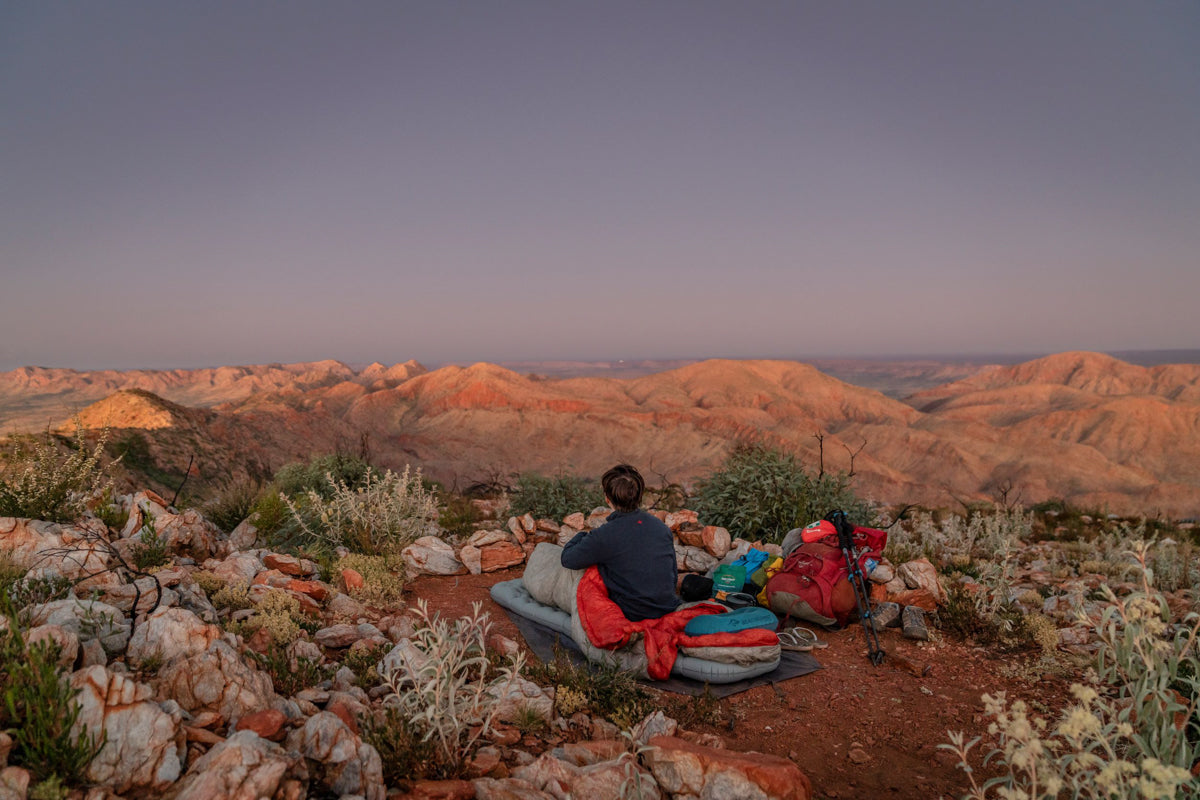
The sun hangs low as the warm, sweaty day is forgotten. A cool breeze begins to blow, and I put on my down jacket. I set up my tent on a mountaintop overlooking the Tjoritja (West MacDonnell Ranges) as the sky begins changing colour from the golden afternoon haze to a fiery orange, red and purple—accentuating the unique desert colours of the central Australian outback. Solo hiking the Larapinta Trail.
It’s just me, the setting sun, my dehydrated curry, and my camera. This is my first time camping completely solo. It’s something that I’ve always been a bit nervous about, but this feels like the perfect place for a true crime junkie like me to let go of my fears and give in to the peacefulness of my surroundings.
Solo hiking the 230km Larapinta Trail through the red centre of Australia is a rewarding ritual. The arid desert landscape is unexpectedly awash with colour and life: fluttering butterflies, chatting budgies, and flocks of pink and grey galahs. You may even be lucky enough, like me, to be observed by a lone dingo while you hike.
Larapinta translates to ‘salt river’ and is also the local indigenous Arrernte name for the Finke River that crosses the trail. The Larapinta Trail passes through many culturally significant sites for the local indigenous Arrernte people, who are the traditional custodians of the land. Some sites are forbidden for tourists to enter, like parts of Angkerle Atwatye (Standley Chasm), and it’s best to respect these rules.
Taking time to learn a bit more about the culture and history will also enhance your experience.
The trail is relatively obvious as thousands of feet walking along the same path repeatedly tends to make a mark on the landscape. This is something to remember when and if you choose to walk off trail – each step we take makes a mark on this relatively untouched environment.

The trail officially starts 3km West of Alice Springs, or Mparntwe (pronounced m’barn-twa), at Telegraph Station. Broken up into 12 sections with shelters at the end of each, it meanders through gorges and over mountains, ending on Mount Sonder, or Rwetyepme (roo-choop-ma).
Although it is truly spectacular, being isolated and remote for 13 – 16 days comes with its challenges—and requires a lot of research! Hopefully, these learnings will help save you time when planning your own Larapinta adventure.
Which direction to walk

I chose to walk from Rwetyepme (Mount Sonder) back to Mparntwe (Alice Springs), as I wanted the choice of walking faster or slower depending on how I was feeling, without worrying about missing my lift back. If you hate the sun in your eyes, go east to west so the sun is behind you during the morning when you’ll be doing most of your walking. If you want to walk straight into a cafe and order a burger once you finish, walk west to east.
Food drops
You can store food at several places, including Kwartatuma (Ormiston Gorge), Ulpma (Serpentine Gorge)/Udepata (Ellery Creek) north and Angkerle Atwatye (Standley Chasm). There is also the option to hire a key and deliver food yourself ahead of your hike, or you can get a food drop service to do it for you.
After trying to change my flights so I could borrow a friend’s car and organise food drops myself, I finally gave in and booked a food drop service through Larapinta Trail Trek Support (LTTS). I arrived late the night before my hike started to find my food boxes waiting at my hostel with the gas I’d ordered and a key to the locked food storage containers along the trail. I separated my food into the three boxes, adding a few heavier goodies to snack on the second I ravenously opened my box at camp.
Meals on the trail need to be nutrient-dense but also appetising. Check out ‘Backpacking food ideas and meal planning 101’ for inspiration.
Water
The arid desert may have amazed me with its flora, fauna and painter’s palette, but it didn’t surprise me with the lack of water. Knowing your hydration needs is vital—if you’re a sweater make sure you carry extra fluid and don’t base your water needs on other people.
Most days on the trail I couldn’t rely on any water source except for the tanks at the official campsites. And even though I was walking in winter, the days still heated up with blue cloudless skies and minimal shade. Luckily, most official campsites are only half a day’s walk from each other, so I could often get away with carrying just three litres of water.
There is one section of the trail that doesn’t cross a water source for 28km. I carried six litres that day, in two water bottles and two bladders, and because I was carrying so much extra water, I couldn’t hike as fast or as far and so I camped overnight on top of a mountain.
Starting my day well hydrated, topping up at tanks along the way and timing my walk with the sun to avoid the midday heat, all helped to reduce the amount of water I needed to carry on my back.
I learned long ago that the lighter your pack, the less your body has to work, and yes this is coming from someone who carries three kilograms of camera equipment.
Shed unnecessary gear, pack smarter and lighten your load by following these tips on how to pack your backpack for hiking.
Bring a tent
While there are shelters at the end of each section, you shouldn’t rely on them and risk not carrying a tent because they can get busy and there are no guarantees of a spot.

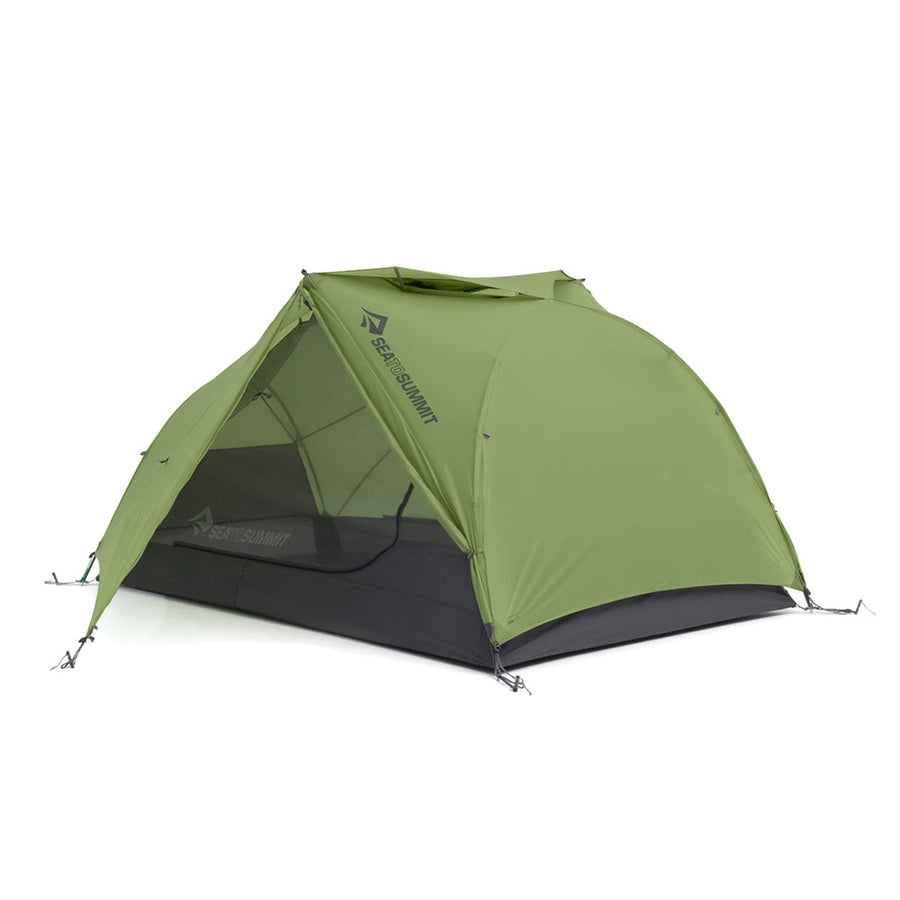
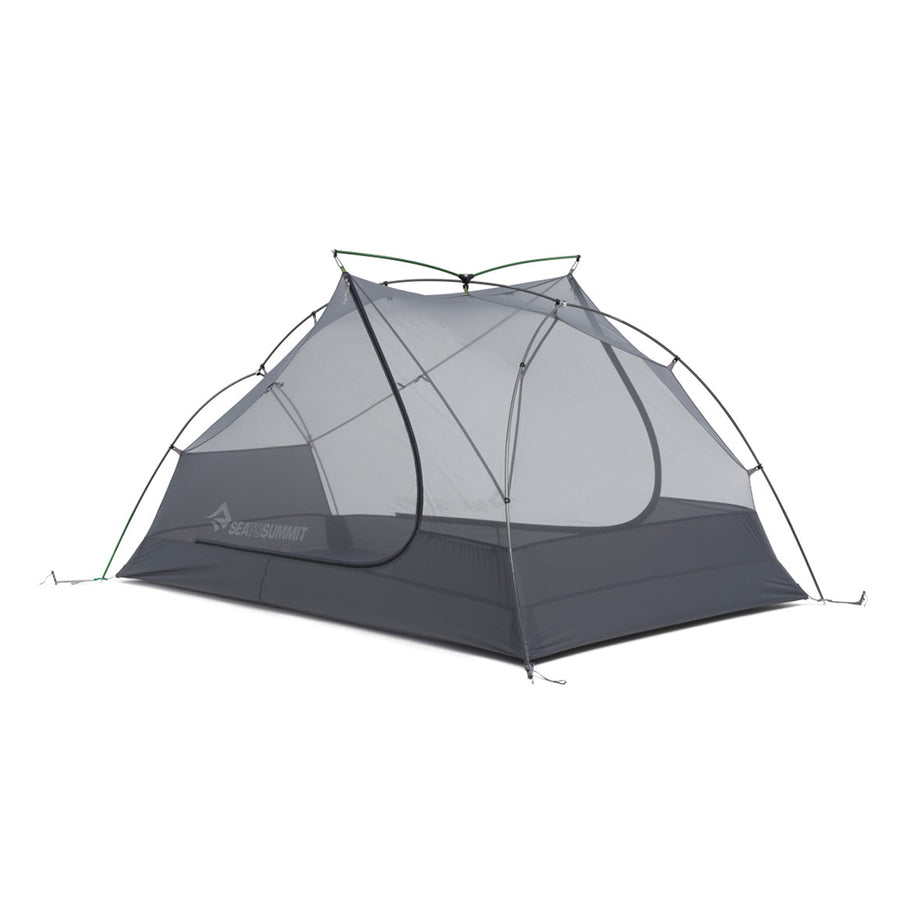
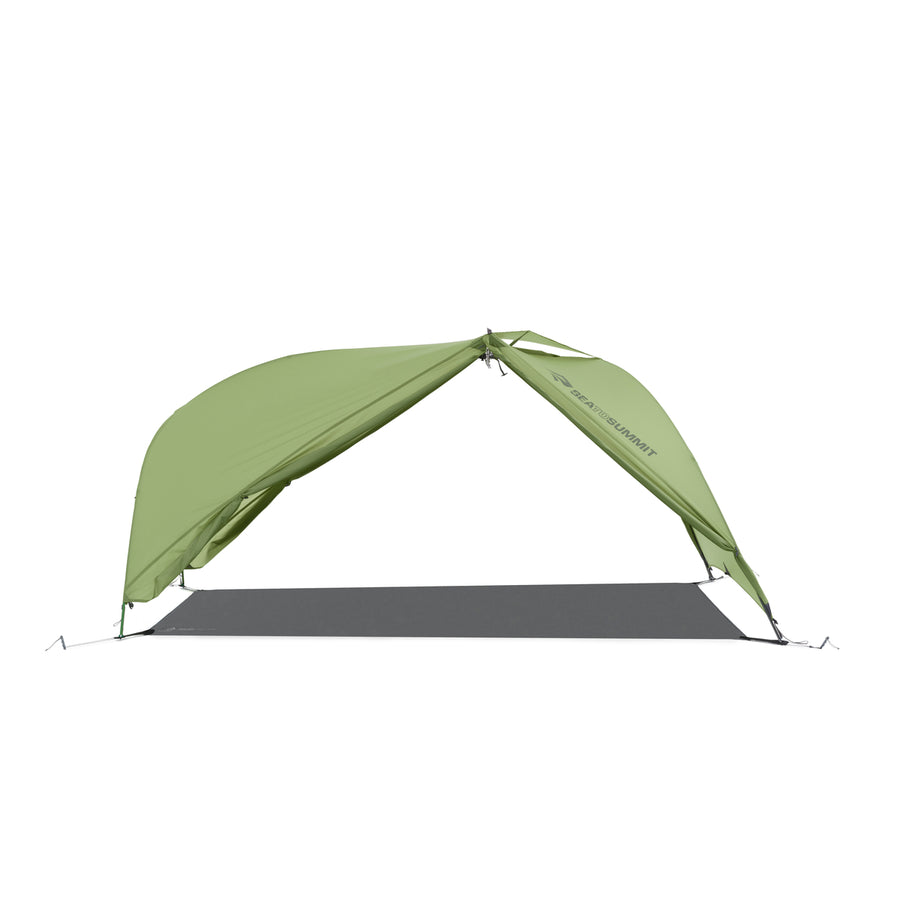
I took the Sea to Summit Alto TR1 Backpacking Tent for this hike, and when I went to set up in a riverbed on my first night, I knew I’d made the right choice even if it meant carrying a little extra weight. The only proper shelter you will have is your tent and the open shelters at the end of each section. While it’s the outback, it can still rain and whip up gnarly storms—and getting wet on freezing nights could be fatal.
There are raised platforms at the shelters that you can sleep on if you can’t be bothered setting up your tent. I slept in the shelters twice and it was a comfy sleep, though a bit cooler because it’s more open to the wind. Unlike other hikes, there are no huts along the way and no chalets to book at the few spots where the trail passes through town (not even at Serpentine Chalet campsite).
While there are shelters at the end of each section, you shouldn’t rely on them and risk not carrying a tent because they can get busy and there are no guarantees of a spot. Some sections are long so you might need to walk a shorter distance on those particular days and free-camp along the way.
Isolation
One of my favourite things about the Larapinta Trail is how remote and isolated it is. It’s easy to immerse yourself in nature, forget the city and reconnect with the outside world, all of which can bring so much joy.
Kwartatuma (Ormiston Gorge) is the first or last point on the hike where you can get a cafe coffee, a hot meal and a shower. It’s a simple campsite with a small cafe which has lots of caravans passing through, though don’t expect to wash your clothes or connect to Wi-Fi. The showers usually have a line, and the hot water only lasts a short while, so get in quick! And while it’s simple, this campsite is a welcome break for hot, sweaty hikers covered in red dirt.
Popular Angkerle Atwatye (Standley Chasm) is the more exciting stop of the two. It’s quite spectacular and especially worth seeing at midday when the sun passes overhead and lights up the red rocks. The cafe has a broader selection of food and even offers gluten-free bread! There is a washing machine and a reliable hot shower, but the noisy campsite – a grassy patch beside the toilet block – is less than idyllic so bring your earplugs.
Navigation

The trail is relatively obvious as thousands of feet walking along the same path repeatedly tends to make a mark on the landscape. This is something to remember when and if you choose to walk off-trail – each step we take makes a mark on this relatively untouched environment.
The only place where the trail is hard to find is in the riverbeds. I got quite lost once when I missed a turnoff and ended up getting attacked by grass seeds as I found my way back! Markers very quickly wash away when the rivers flood in winter, so pay attention when crossing riverbeds.
There are a few other spots where you can miss markers, so don’t zone out too much and stare at the clouds while you walk. Be prepared with a map and compass, and it goes without saying that you need to know how to use them.
Maps and apps
Plan ahead and buy maps from the Northern Territory government website as they’re often sold out locally—they also hold handy information about the flora, fauna and geology.
I used the Far Out app (formerly called GutHook) and can’t recommend it highly enough. It tells you where the water sources are, which directed me to Fringe Lily Creek—about a 600m diversion but it was worth it for the filterable water. There’s also Telstra mobile reception there—handy when it’s your boyfriend’s birthday and you want to surprise him with a mountain top call.
Reception
I’m a big fan of getting lost in nature, but for such a long hike you may want to have the ability to call home if you need to. There is nowhere to tap into Wi-Fi along the hike, so if you want to have contact with the outside world get a Telstra sim as their coverage in remote areas is better than other phone companies. There is a stretch of four days between Section 4 and Section 7 with no reception, but there is patchy coverage on either side of that area. Satellite phones can also be hired from several companies.
Dingoes and other critters
Don’t worry, the dingoes aren’t likely to attack. I saw a dingo while I was walking, and we just stared at each other for a while before we both went on our way. I heeded the good advice to keep my shoes and loose items inside my tent and my pack in the vestibule—just in case that lovely pungent well-worn hiking shoe odour made them want to eat it for dessert.

As for the other critters, there are snakes but you’re unlikely to get bitten if you pay attention to where you put your feet. I chose to wear my Quagmire Gaiters eVent for peace of mind—also very effective against spinifex spikes.
Powering devices
I had read there were solar chargers at all the shelters. Luckily, I still brought a power bank in case it was cloudy as the solar chargers only work when the sun is hitting them directly and they only point in one direction, so you can only use the charger at certain points of the day. They’re a handy spot to give your phone some extra juice here and there, but don’t rely on them.
Terrain
The blogs I’d read describing horror stories of the terrain and how tough the trail were not far from reality. Bouldering with a backpack or walking along Razorback Ridge was challenging and Hugh Gorge was memorably difficult too, so much so that I had to take my pack off and swing it onto a rock to then climb up behind it.
Needless to say, you’ll want to have good shoes. Your feet are going to be taking the brunt of the hard work so it’s important they’re equipped with a pair of well worn-in hiking shoes. Ankle support and a sturdy sole is a must as you’ll be walking through riverbeds and the potential for rolled ankles is high.
I may have painted a bit of a scary picture, but solo hiking the Larapinta Trail is not a horror story of big sharp rocks from start to finish. There are also large sections of the trail where the terrain is less challenging. If this is your first hike, just be prepared for some tough sections and make sure you have good shoes and protective wear like gaiters. Hiking poles can also be knee-savers.
…just because the days are hot, doesn’t mean you should carry fewer clothes. The nights get COLD…
Temperature
The bottom line is that the days are hot, even in winter. The temperature didn’t get above 30°C (86F) but when hiking, 25°C feels like 35°C, especially on a trail with barely any shelter. Those cloudless blue skies are beautiful, but on some sections, it does feel like walking through a sauna (the dry kind).
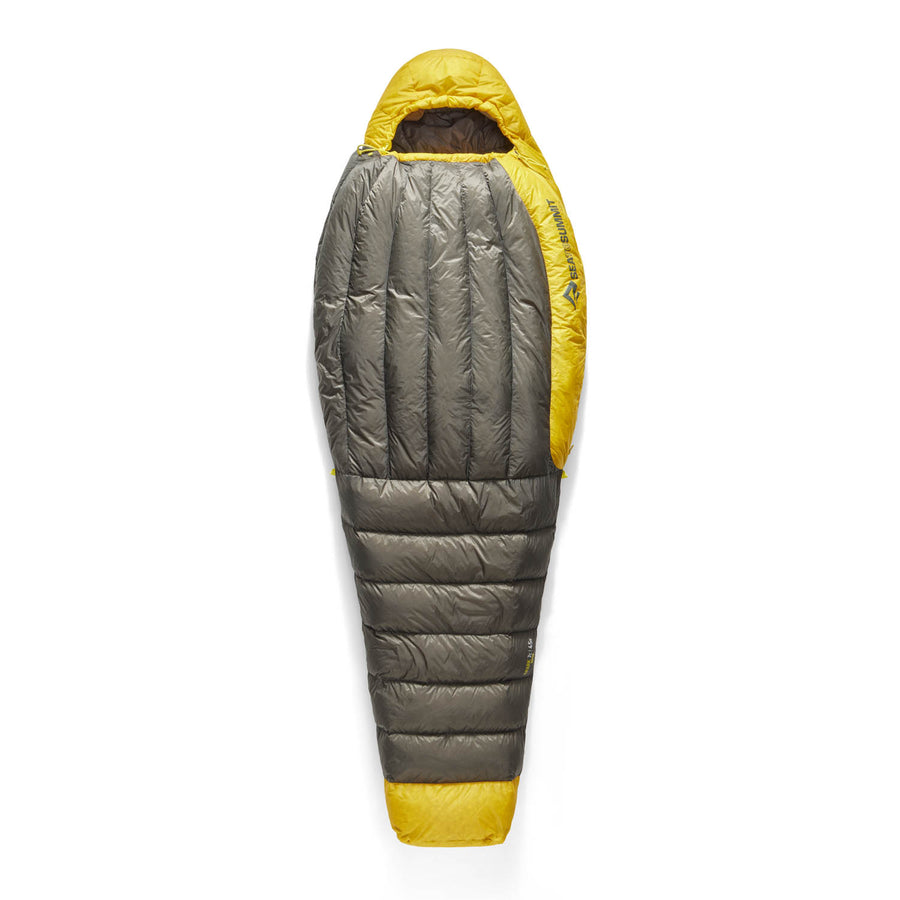
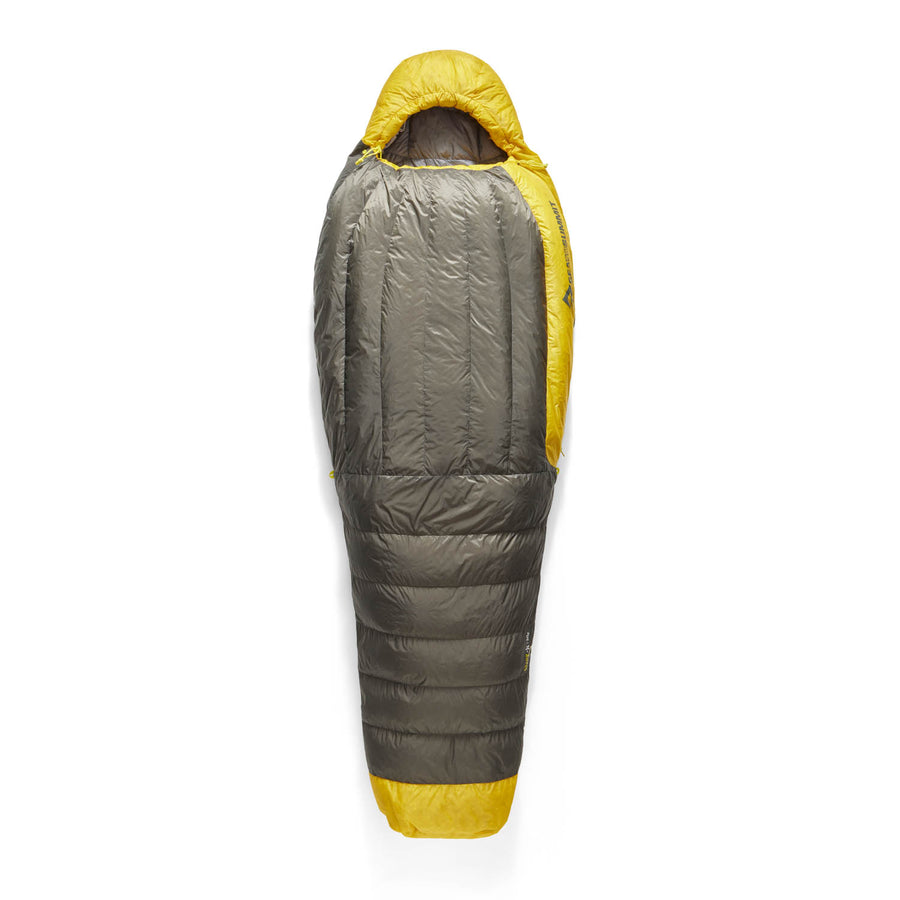
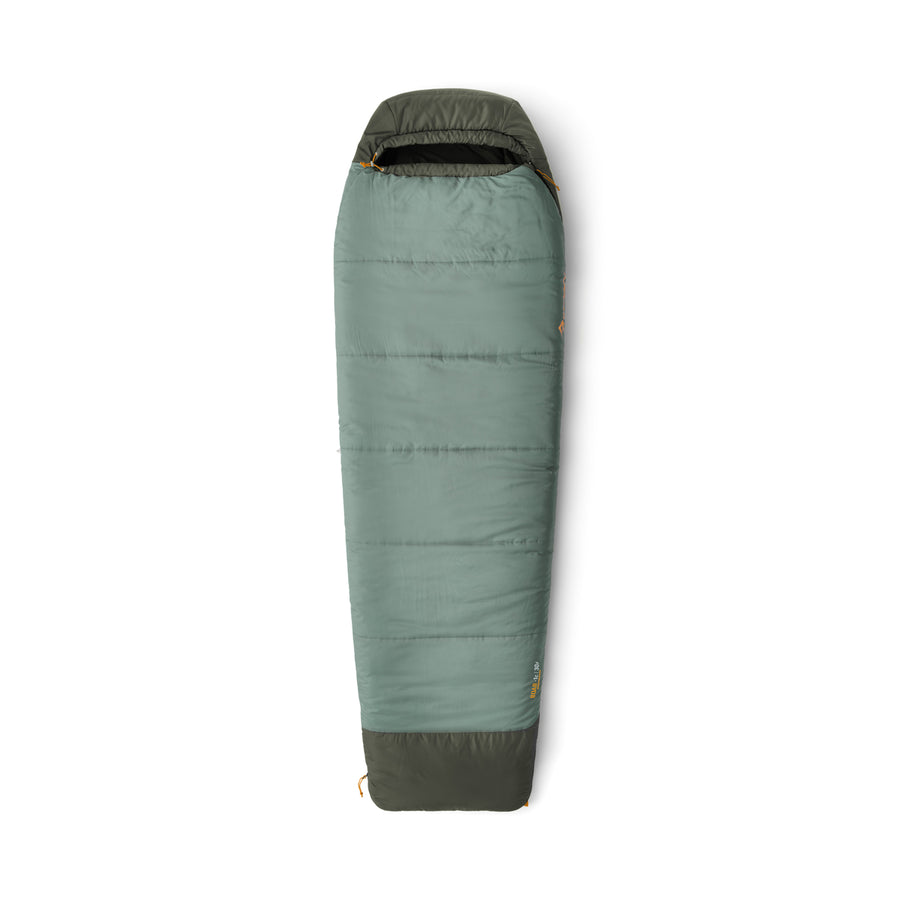
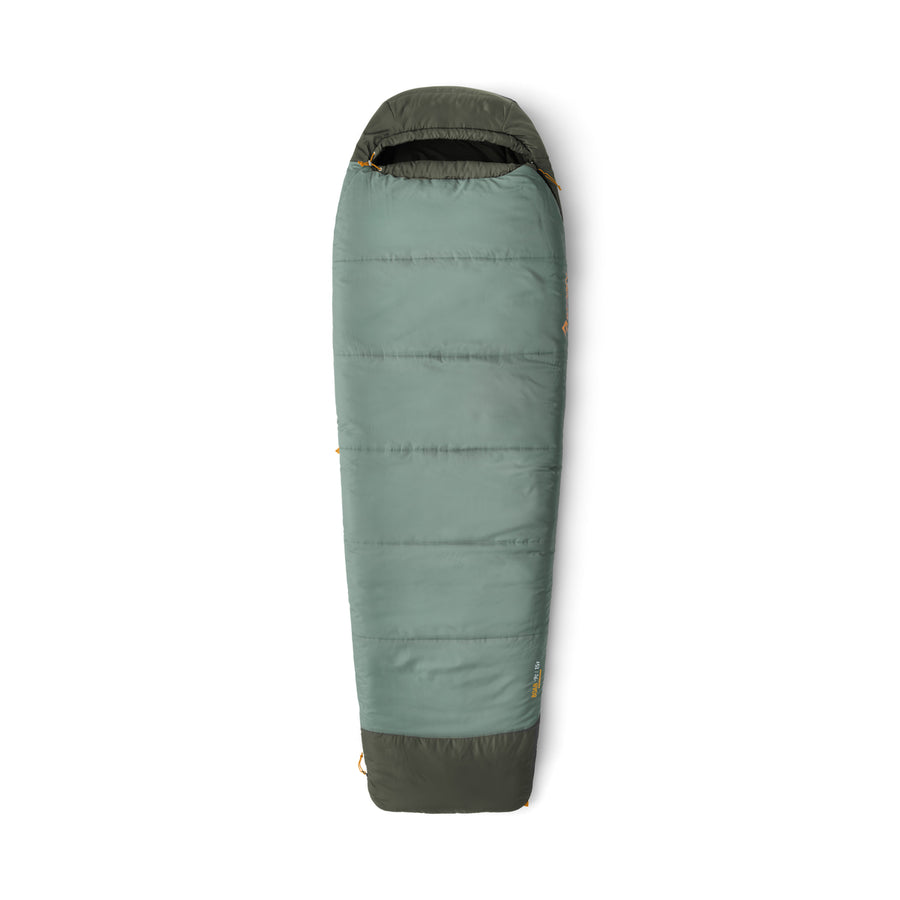
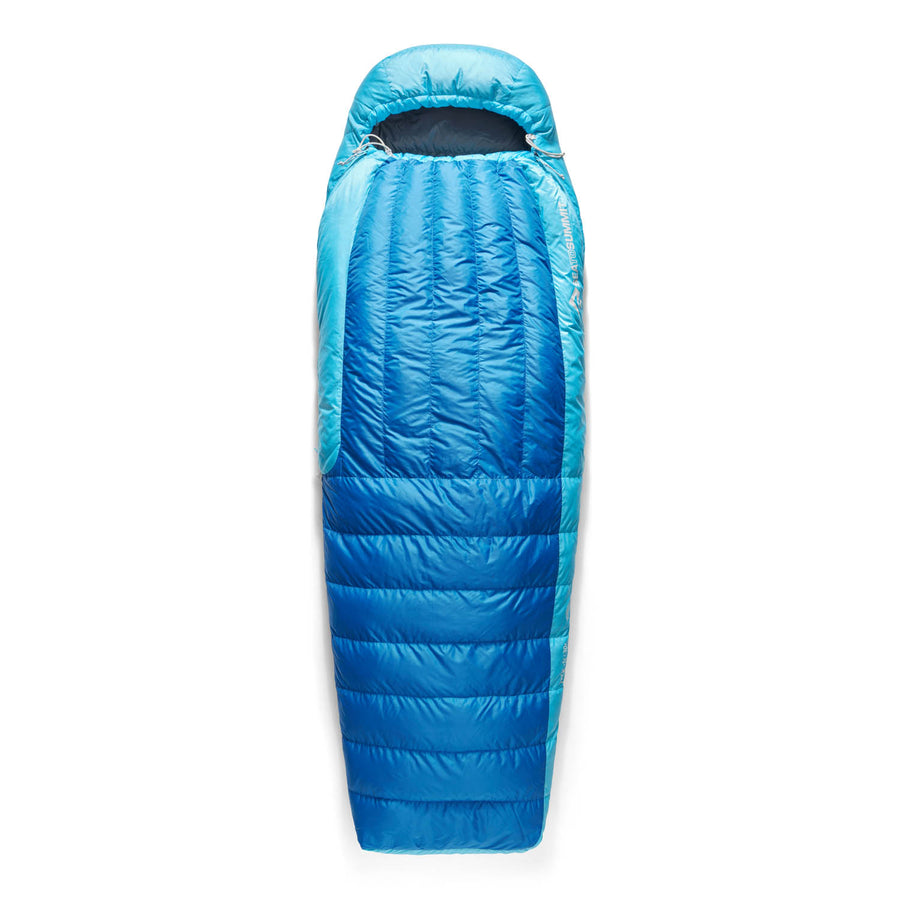
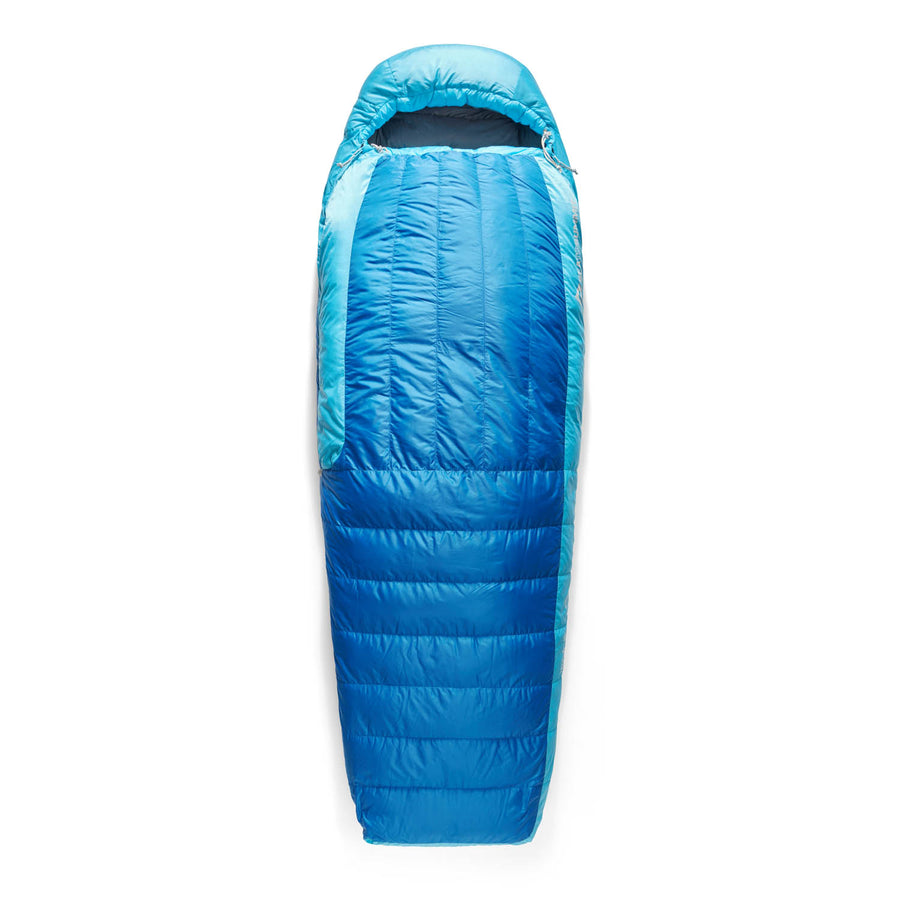
However, just because the days are hot, doesn’t mean you should carry fewer clothes. The nights get COLD — think freezing 0°C (32F) cold. I like to sleep comfortable, so even with my super warm Women’s Flame FmII Ultralight Down Sleeping Bag (2°C), I added a Reactor Thermolite sleeping bag liner to my sleep system and had no regrets.

How solo will I be really?
The Larapinta is growing in popularity because it’s just so darn good and complete solitude in the peak hiking season (June to August) is going to be rare. I met lots of people hiking, but it’s a long trail so even with plenty of people walking it, there are still long stretches where you’ll be alone with your thoughts.
The shelters are popular gathering places and sharing trail tails is a great social connector. One of the joys of hiking means we already have a common interest with the people we meet along the way.
There are also plenty of free-camping opportunities with nobody around. I spent two nights completely solo, a few nights with one other tent nearby, and a few others with a bunch of fellow hikers.
What’s more, the remoteness of the trail and limited 4WD access meant that I felt safe to solo camp along the way. Though I always kept my cheese knife close by. Just in case!
With all that said, solo hiking the Larapinta Trail is incredibly special. It might be tough and long, but it’s a life-changing experience whether you’re with company or going solo.



![Frontier Ultralight One Pot Cook Set - [3 Piece]](http://seatosummit.com.au/cdn/shop/files/FrontierULOnePotCookSet1P3Piece1.3LPotWithS-BowlandCup_ACK027031-122114_PRIMARY-1200x1200-9c6bd91.jpg?v=1749433473&width=900)
![Frontier Ultralight One Pot Cook Set - [3 Piece]](http://seatosummit.com.au/cdn/shop/files/FrontierULOnePotCookSet1P3Piece1.3LPotWithS-BowlandCup_ACK027031-122114_ADDITIONAL_1-1200x1200-9c6bd91.jpg?v=1749433473&width=900)
