What to Pack for an Ultra Lightweight Backpacking Trip
We first published this post a few years ago - we've updated it a couple times to include some recent innovations. The article builds on the post listing gear to take on a week-long backpacking trip but concentrates on ratcheting down from lightweight to what is often called ‘ultralight’.
As before, regional differences in weather and terrain will affect the choices of what to take, as will what you currently have in your gear closet. Here’s a general guide:
What to take with you
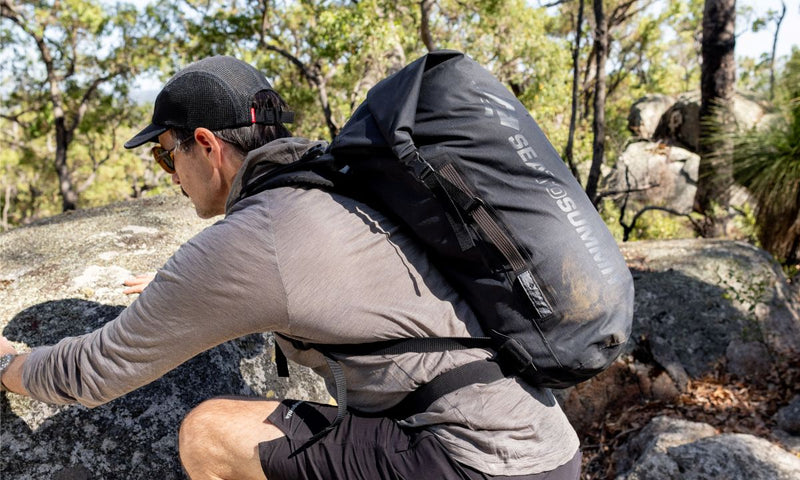
1. A very lightweight pack of around 3000 cu in / 50 liters
Remember that even with minimal gear, you will still have 7kg / 15lbs or so of food for a week-long unsupported trip– so make sure you test a pack for harness comfort with an appropriate weight (around 12kg / 25lbs) for an hour or so before you open your wallet. And think about durability – in the opinion of the Ask Baz team, it’s better to build a simple pack out of strong materials than a pack with lots of ‘features’ out of super lightweight materials.
2. (PROBABLY) A shelter rather than a tent
There are a number of very lightweight shelters on the market – before you part with cash for one of these, it’s worth asking the following questions: how weatherproof does the shelter have to be? How easy is it to pitch? (Imagine the weather has gone bad, the wind has come up, light is failing – how quickly could you get that shelter up and get yourself and your gear under cover?) How durable a shelter do you need? How much bug protection do you need?
If you can live with a relatively complex pitch and (potentially) no bug protection, the Ultra-Sil Nano Tarp Poncho may be the way to go. Here are a couple of images showing the Tarp Poncho pitched in its most weatherproof configuration. And – in addition to providing shelter at night, the Tarp Poncho is your rain garment and pack cover during the day.


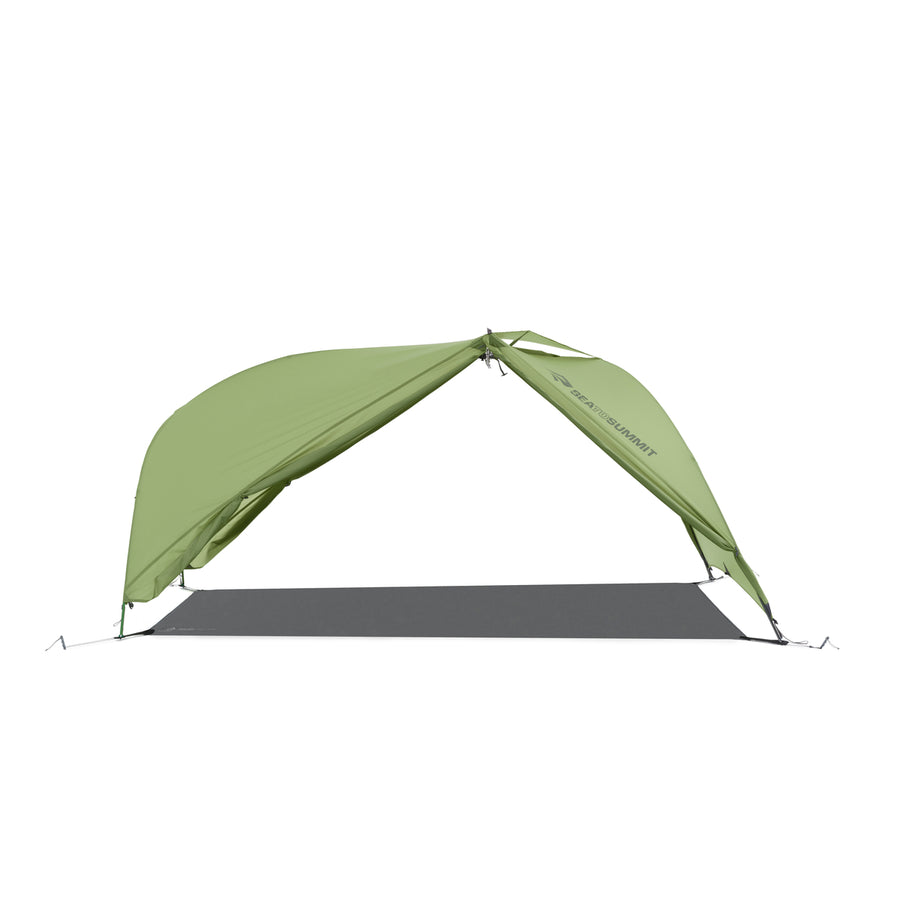
You can combine the Escapist Bug Tent with the Nano Tarp Poncho to provide bug protection, but it will be tricky to achieve a great pitch. Or – you could opt for the Escapist Tarp instead, and enjoy the benefits of a lot of space to stow gear as well as the innovative pitching system (the Hypalon tabs at each corner will pitch over trekking poles and provide easy attachment points for the bus shelters). The guylines are also easy to adjust from underneath the tarp in case of changing weather conditions.
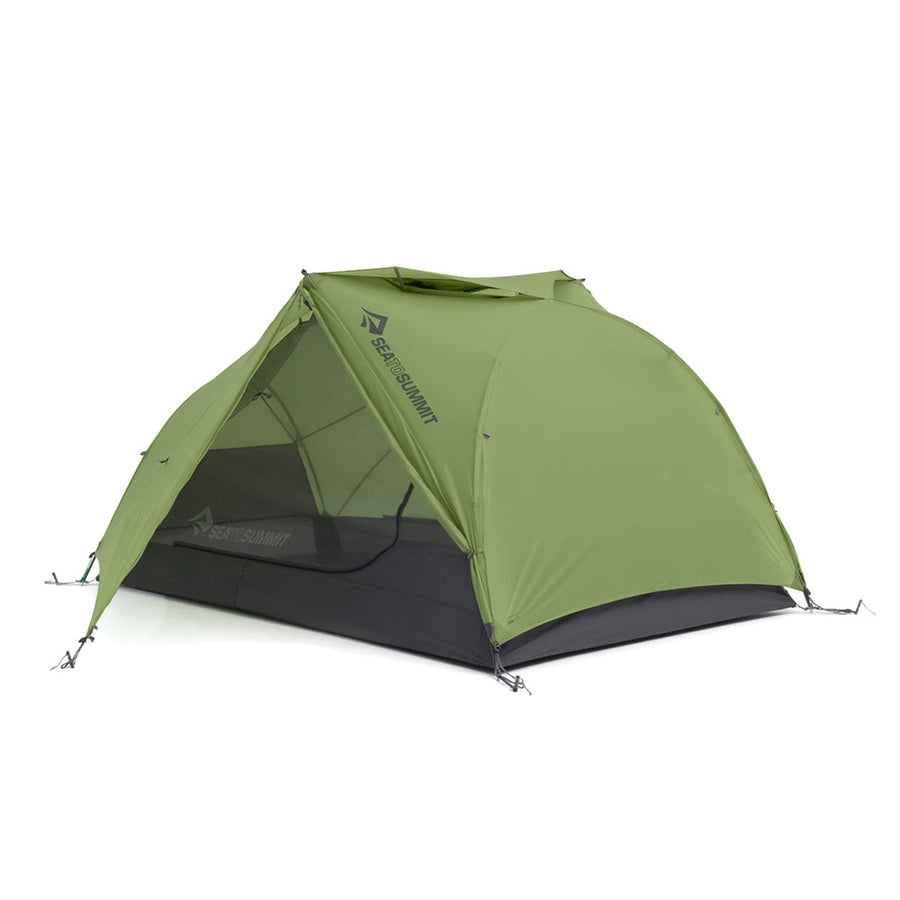
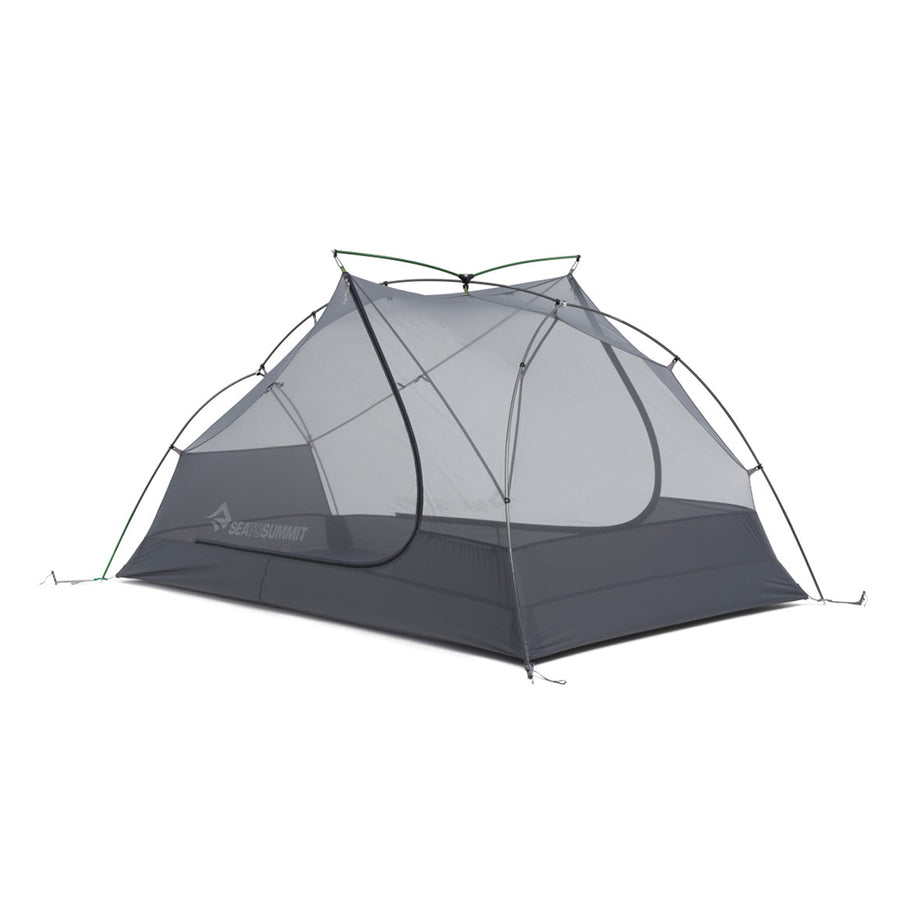
We use the word ‘probably’ above, because if you will be hiking in frequently wet or buggy conditions, you may opt for an ultralight tent instead of a shelter. The Alto TR 1 (for a solo hiker) or Alto TR 2 (for two people) offer far more interior volume and better ventilation than almost any other ultralight tent. In addition, they are much easier to pitch than a tarp-based shelter, and have a few extra creature comforts (including, of course, a bug-mesh inner).

3. A sleeping bag and sleeping pad
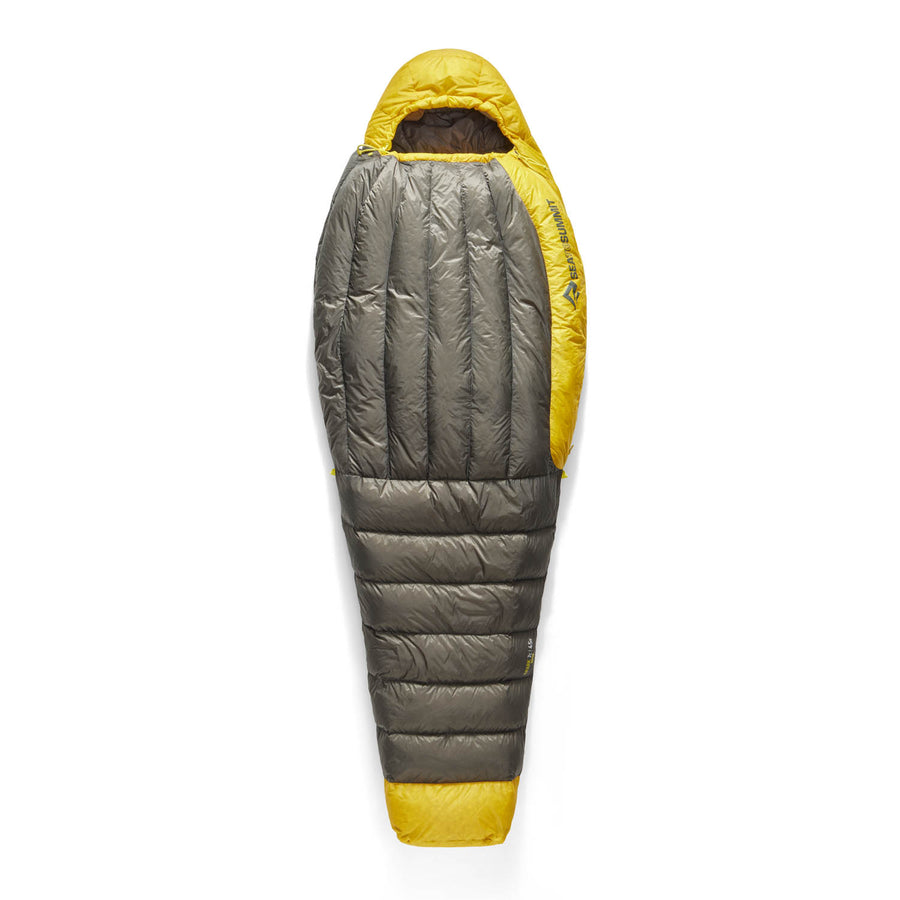
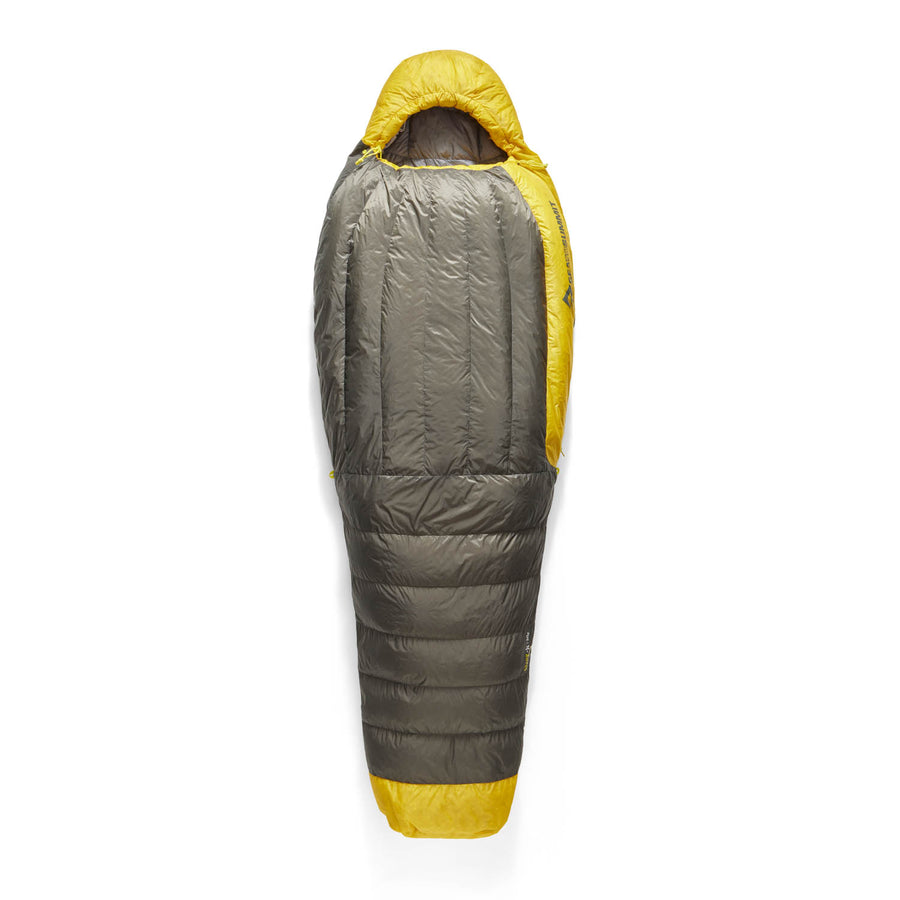
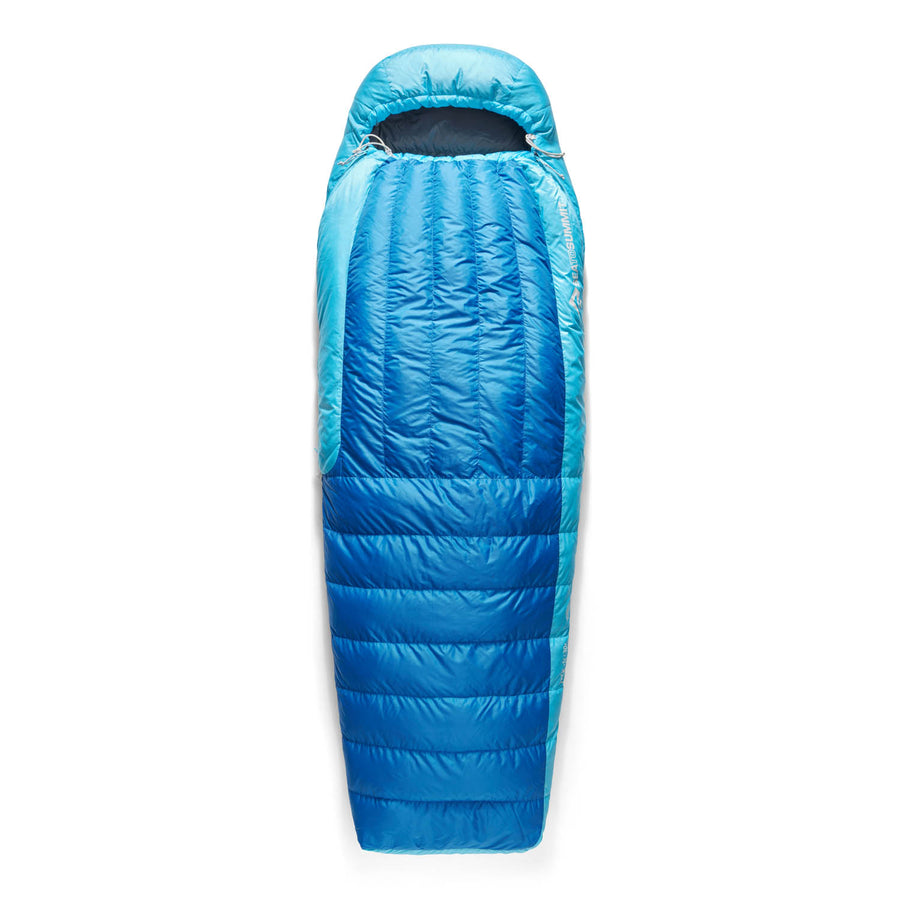
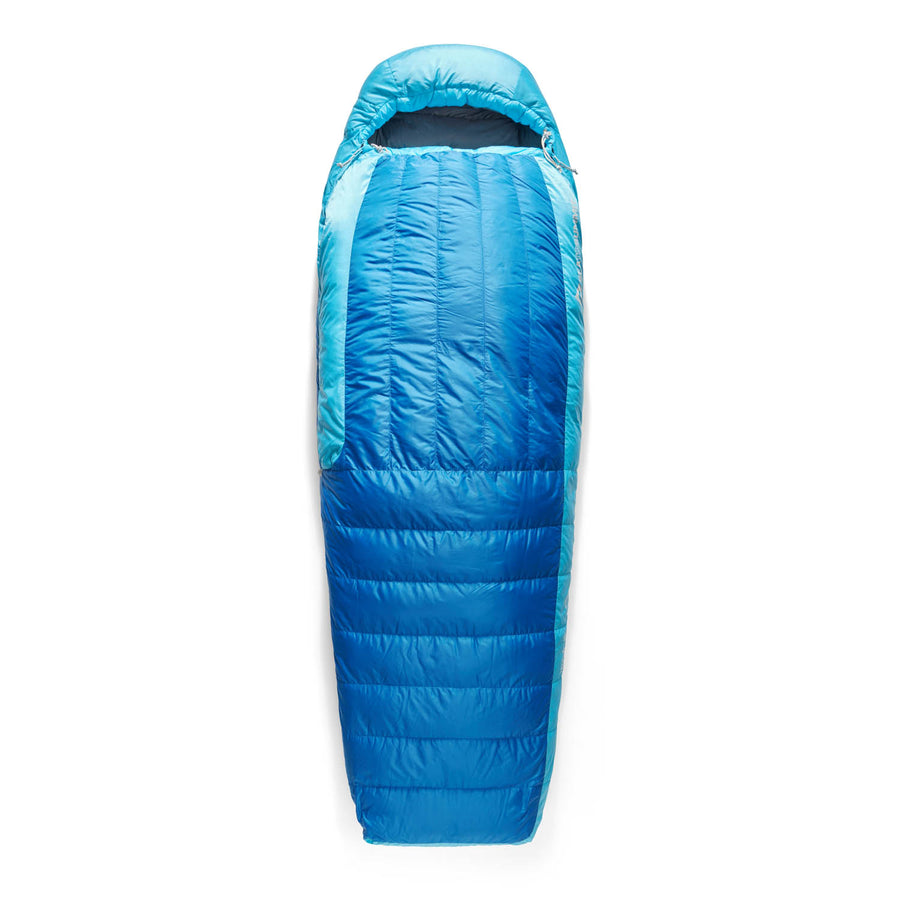
You should certainly include the Spark Sp I or Sp II or Flame FmI or FmII in your list of bags to check out. Remember that weight and packed volume are important, but so are the flexibility of use and ventilation - one bag which has both of these is the new Traveller TrII. If you like the quilt experience the Ember Eb I or EB II might be for you.
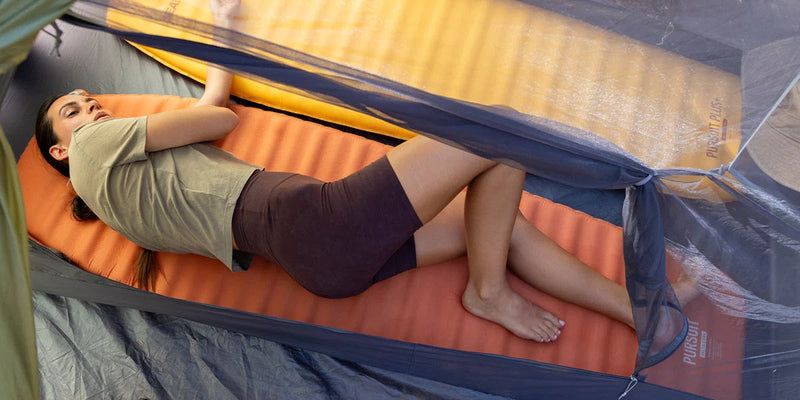
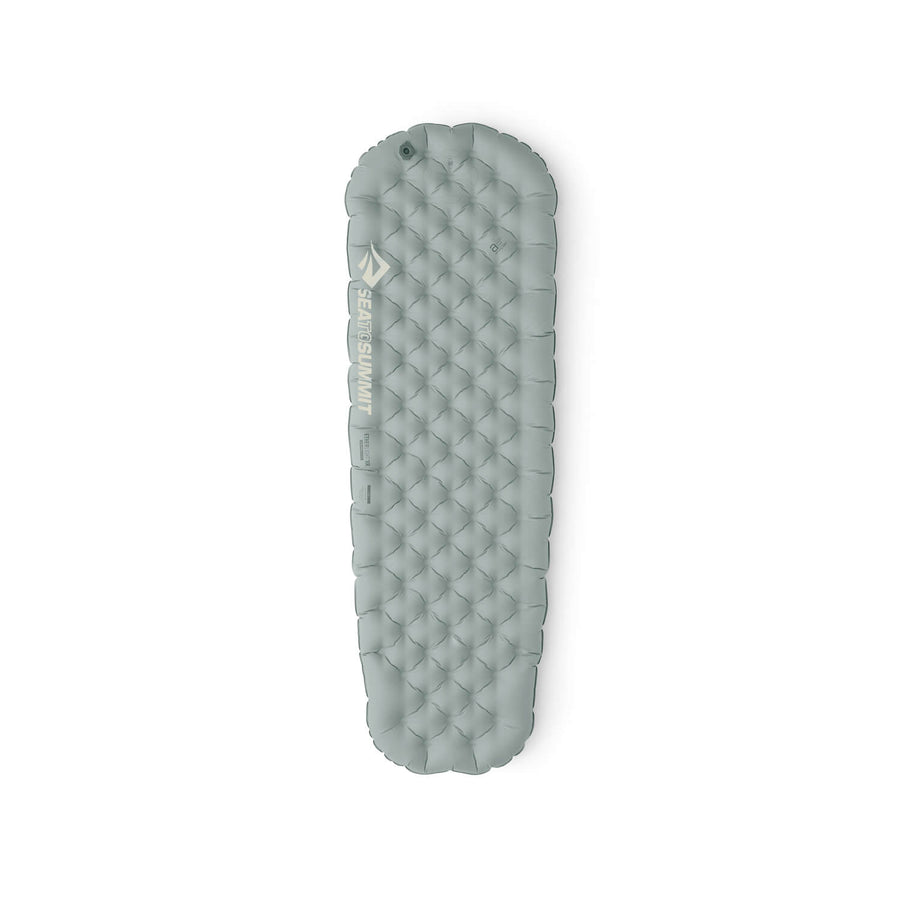
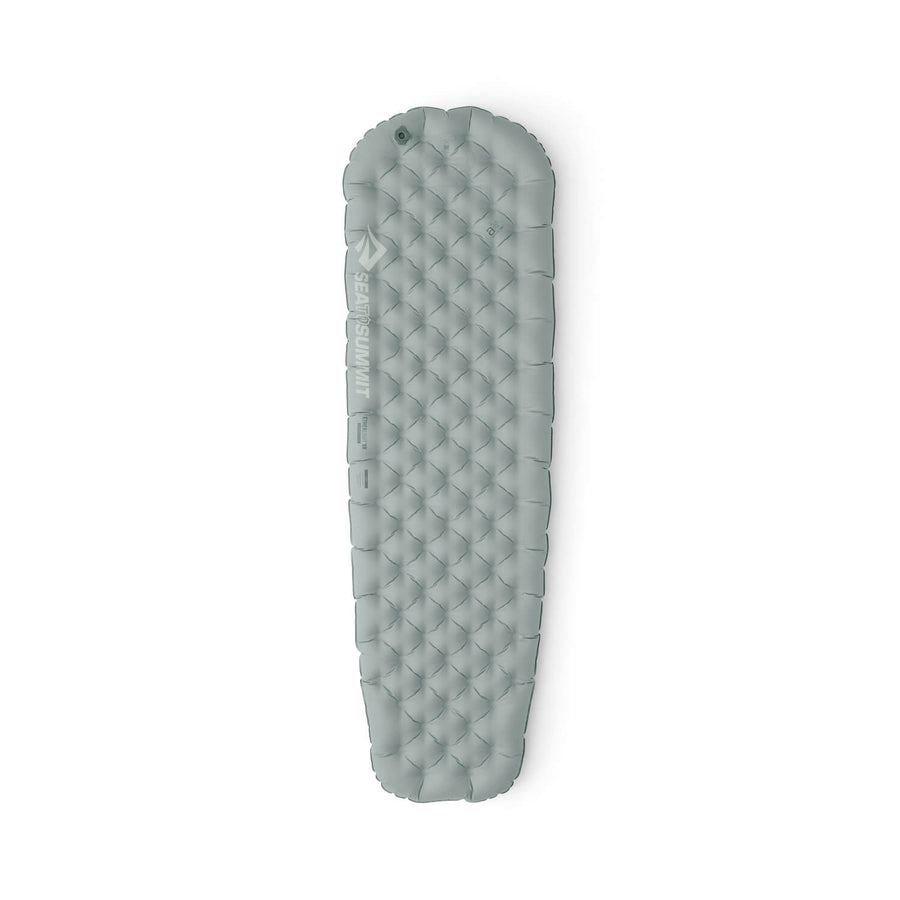
Ultralight sleeping pads have become far more commonly available in the last few years. Just be aware that some use fragile fabrics and laminate materials, and some are not very supportive – they allow the sleeper to ‘bottom out’. Even if (or perhaps especially if) you are trying to save every gram, it’s important to understand how an air-filled sleeping pad works, and whether it will insulate you adequately – it’s worth reading this post on the physics of insulation and comfort.
Make sure the pad you intend to take with you provides adequate insulation - you will need to know the 'R-Value' of the pad (you can read up on this topic here). Fortunately, as of January 2020, all sleeping pad manufacturers will test sleeping pads for R-Value according to the new ASTM Standard. More about that soon. One specific pad recommendation: the Ultralight Air Mat is available in size XS, which will reach down to approximately knee level when you sleep. Put your backpack underneath your lower legs to complete your sleeping space.

4. Cooking / Eating / Washing gear
If the ‘Week-long backpacking’ blog suggested simple, here’s where you should consider simpler.
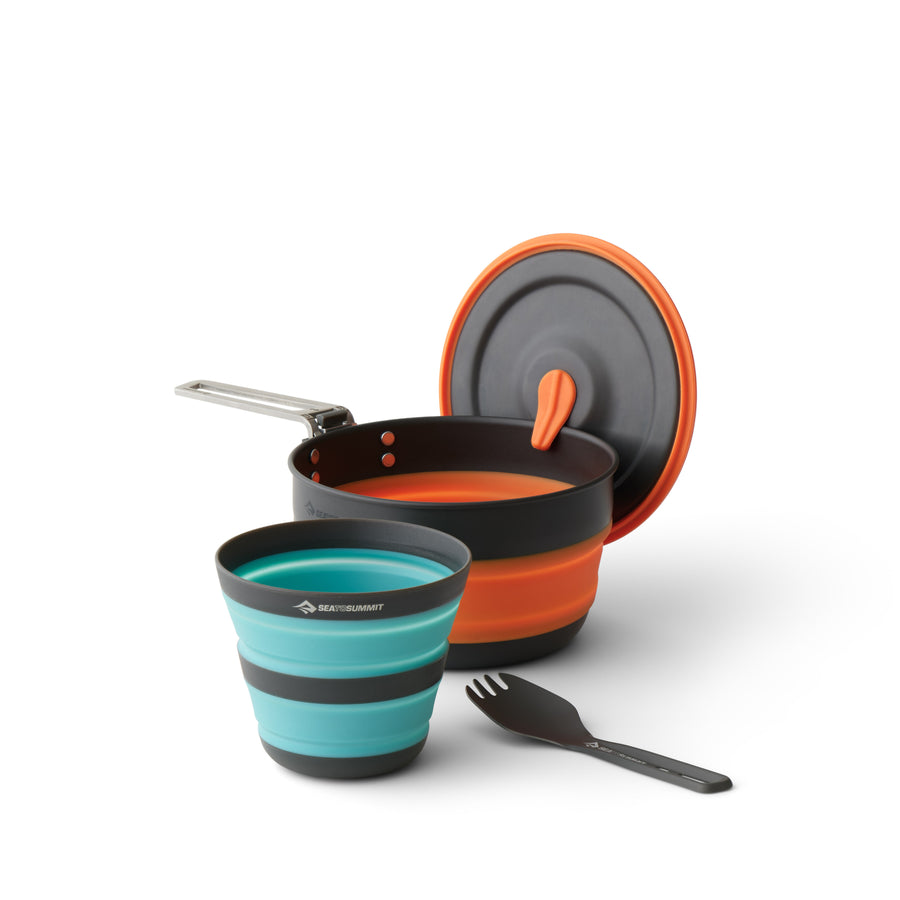
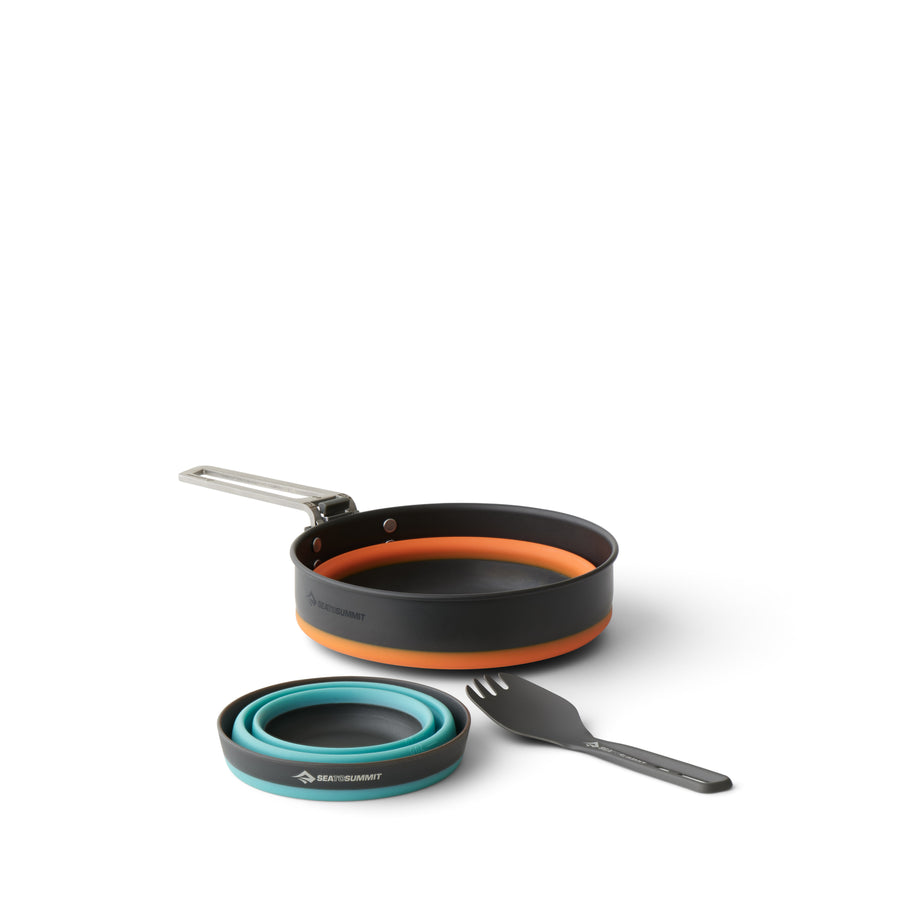
Alcohol stoves are the choice of ultralight backpackers – they weigh very little, work every time, and the fuel is readily available. If you opt for titanium for cookware, bear in mind that this metal conducts heat poorly, so you can end up with a hot-spot (and possibly burned food). It might be well-worth checking out the X-Pot/Kettle – granted, it is a few grams heavier than some ultralight pots, but its broad aluminum base is great for real cooking from a gentle simmer to full-on boil. And – it collapses down to take up minimal space in your pack.
A Delta Bowl is a good lightweight do-it-all plate/bowl, and a Delta Spork and Knife is the only cutlery you need. The Ask Baz team wouldn’t go without the X-Brew Coffee Dripper, because even when they're going ultralight, they still like a couple of creature comforts. What fun is there in being miserable in the backcountry?
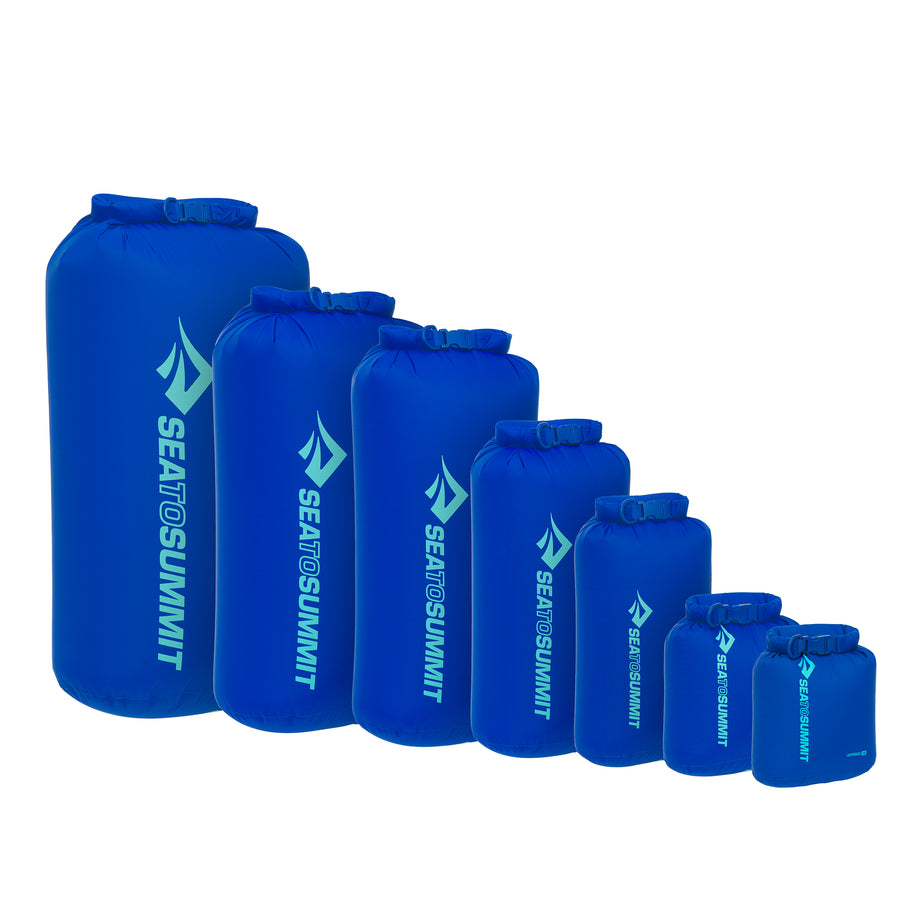
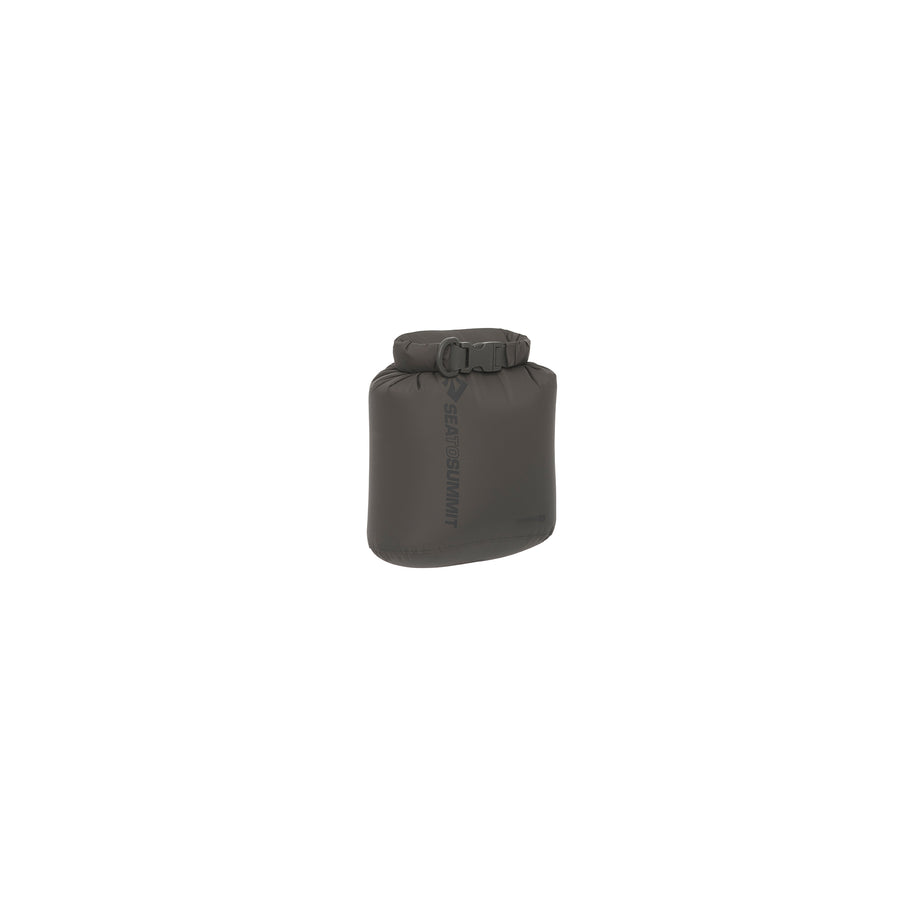
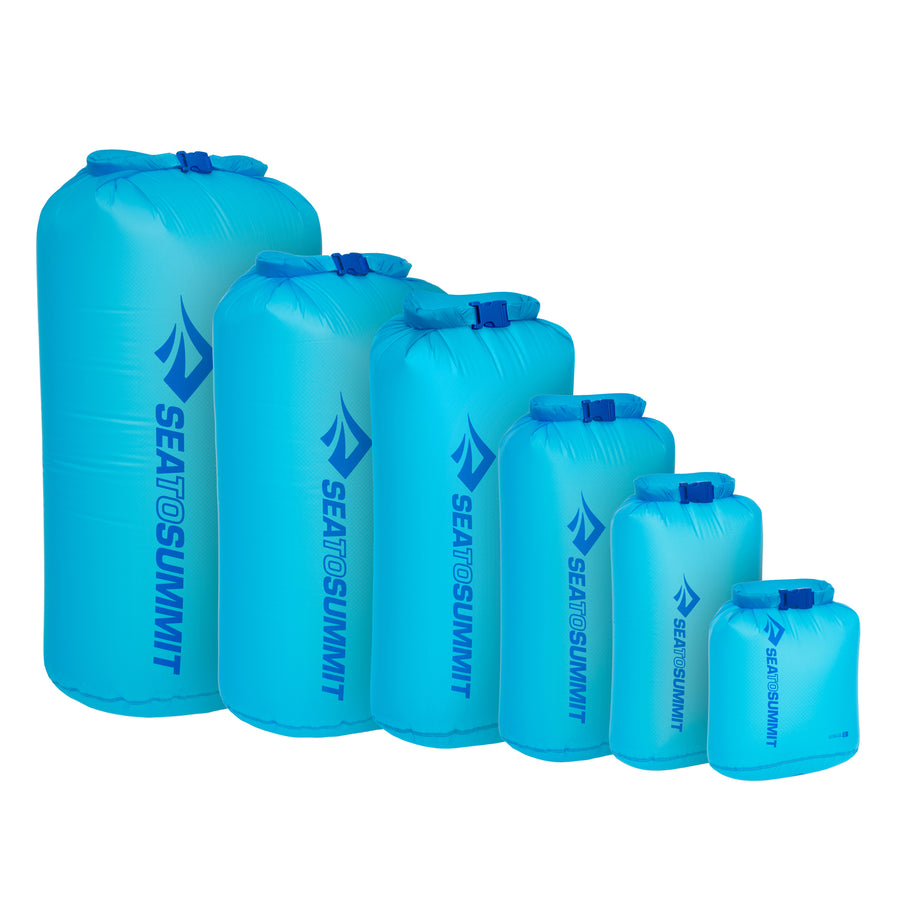
Food is around 1 kilo / 2.2lbs per day – shed that excess packaging at home, and pack one Ziploc® bag’s worth of food per day. All the food should be packed in a lightweight sack (perhaps an Ultra-Sil® Dry Sack) in your pack which doubles as a bear/critter bag at night – be very cautious of snagging it on branches.
For washing your pot, bowl, and mug (and for personal hygiene), a 40ml bottle of Wilderness Wash covers all the bases, and a Pocket Towel works to dry you off and as a bandana.

5. First aid / preparedness
Take the same ’10 essentials’ kit referred to in the ‘Week-long backpacking’ blog – including fire starting material, sunscreen, a first aid kit and, yes a map (in a TPU Guide Map Case) and compass – packed in an UltraSil® Dry Sack to keep the items dry and organized. Find out more about what to pack in our Guide to the Ultimate First Aid Kit.
6. Clothing
This is where you can save both weight and bulk (and spend a lot of money if you’re not careful). Make sure that the clothes are both light and that they fulfill more than one function.
You’ll need to layer and have one ‘dry’ set and one ‘wet’ set of clothes, and carry gloves and an insulated hat for evenings/sudden weather changes during the day. All of these garments should be packed in a couple of UltraSil® Dry Sacks – keeping order in your pack is almost as important as keeping things dry.
7. Other gear
- A LED Headlamp and spare batteries.
- A camera or phone (stored in its own TPU Accessory Case).
- A filter water bottle (less weight than a separate water filter; scoop as you go and drink as you need).
- A 2 liter water reservoir.
- Trail running shoes plus short gaiters, and potentially a pair of waterproof socks for wet days.
- A baseball cap with the Pocket Towel to cover your head and neck in the sun.
- Personal wash kit.
- A Pocket Trowel kept in a Ziploc® bag with toilet paper and a 40ml bottle containing Trek and Travel Hand Sanitizer.
Some caveats:
Weight is very important when you’re backpacking. But – so is understanding the function and limitations of lightweight equipment (this is not necessarily apparent from reading online backpacking reviews and forums).
Not all lightweight gear is created equal and ‘high tech’ does not mean ‘indestructible’ – Sea to Summit manufactures to the highest possible standards using the best materials we can source, but this does not mean the products will survive improper use. For instance – some of the Ask Baz team have used UltraSil® Dry Sacks inside their packs for almost 10 years, but we’ve heard of them being destroyed in an environment for which they were never intended in 20 minutes.
Just because a thing is lighter, doesn’t make it better. This is the nugget contained in those questions above in point two about ‘how weatherproof’ and ‘how durable’. Some aspects of performance can be measured – if you’re not familiar with terms such as R-Value, hydrostatic head (in mm), tensile strength (in kg) moisture vapor permeability (in g/m²/24h) or fill power (in cu in), you might want to find a specialist store where people can provide this information to you. Or, of course, you could ask your mate Baz.


![Frontier Ultralight One Pot Cook Set - [3 Piece]](http://seatosummit.com.au/cdn/shop/files/FrontierULOnePotCookSet1P3Piece1.3LPotWithS-BowlandCup_ACK027031-122114_PRIMARY-1200x1200-9c6bd91.jpg?v=1749433473&width=900)
![Frontier Ultralight One Pot Cook Set - [3 Piece]](http://seatosummit.com.au/cdn/shop/files/FrontierULOnePotCookSet1P3Piece1.3LPotWithS-BowlandCup_ACK027031-122114_ADDITIONAL_1-1200x1200-9c6bd91.jpg?v=1749433473&width=900)
