How to Hammock Camp

Sleeping in a hammock during a backpacking trip (as opposed to sleeping on the ground in a tent) has become quite popular in the past few years. However – as evidenced by some questions which the Ask Baz team has fielded recently, there is clearly some confusion around some basic aspects of hammock camping. So - we thought it was time to take a look at how to get the best from a hammock system (which we define as a hammock plus a bug net and tarp).
In putting this article together, we had some input from (as always) our staff here in the office, plus Jake Ferguson from GearJunkie, and some colleagues from the retail stores which sell our hammocks.

Make sure you’re not buying in bulk…
When you get ready to make that purchase, the first point is to be aware of the weight and packed volume of the entire system – including the suspension straps. Ask the store staff for assistance in grouping together the hammock, suspension, bug net (if separate) and tarp – then compare the weight and volume with other hammock systems (and perhaps also with a lightweight tent for perspective). A first-time hammock camper may end up with a system weighing around 5 lbs / 2300g – but by paying attention to the weight of the components, you can essentially halve this.
Separate the sales pitch from actually pitching the hammock
The second point is to determine how quickly/how easily the system can be set up. Key points here are how quickly the suspension straps can be secured around trees/car roof racks etc. and adjusted to the correct pitch angle; and how quickly the bug net (if separate) can be deployed. You may hear salespeople claiming that both these operations can be completed ‘in two minutes’ – if so, you should ask to see this done with the system you are contemplating. The Ask Baz team has seen users struggling with looped straps and carabiners, and bug nets with ridge lines and multiple stake-out points for over 20 minutes – which is a long time to be exposed to bugs or bad weather.
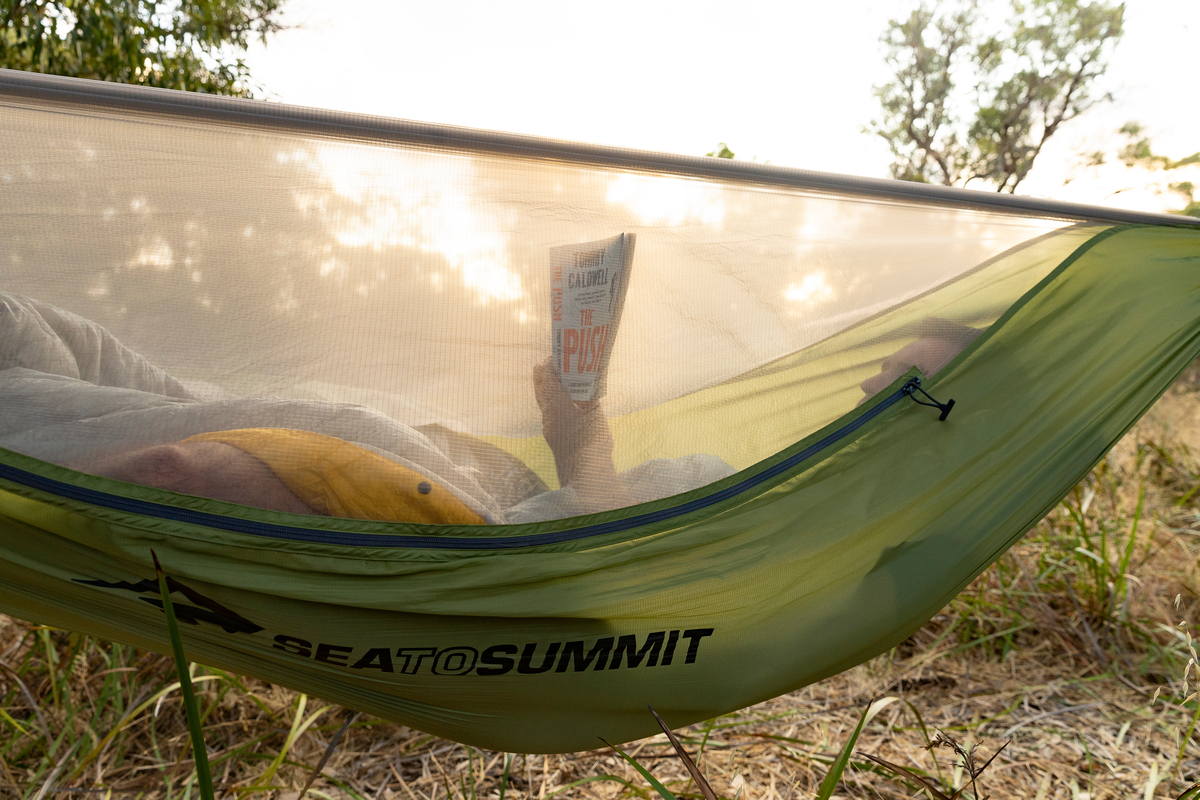
"After slinging the Tree Protectors and Ultralight Suspension Straps around two trees, undoing the mini-compression straps around the hammock body and lining up then linking the two aluminum buckles together, we had our relaxation station ready in seconds." - Alice Kao, Sea to Summit Brand Ambassador
A couple of other things to be aware of when purchasing a hammock system:
- Light weight is important in a system (see point #1 above) but extreme light weight may involve compromises. For instance, many sleepers prefer sleeping at 30° to the center line. The lightest hammocks on the market are not wide enough to permit this.
- Some hammock systems are sold with integrated bug nets, such as the Jungle Hammock. Consider how often you will be camping in buggy areas – if this constitutes the majority of your overnights, an integrated bug net may be the way to go. If not, you are carrying the weight and bulk of the mesh on trips when you do not need it. As Jake commented, "If it’s early or late season, we simply don’t bring bug nets."
- A separate bug net may work with various hammocks, which gives you flexibility in your gear choices.
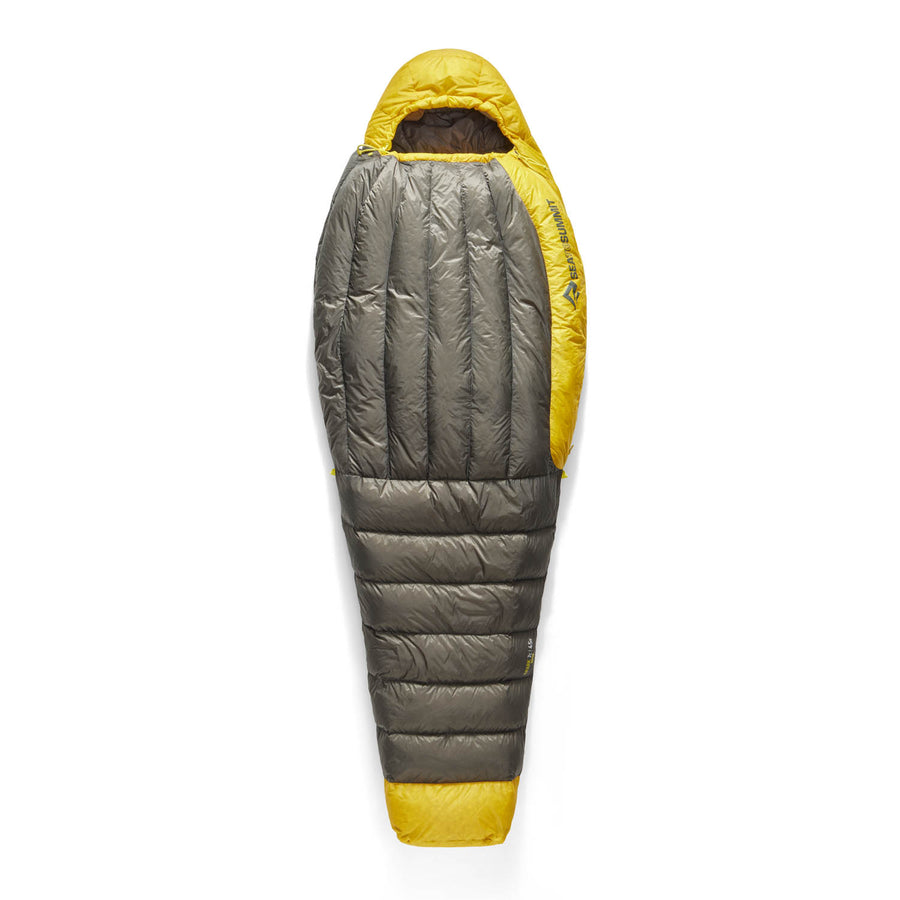
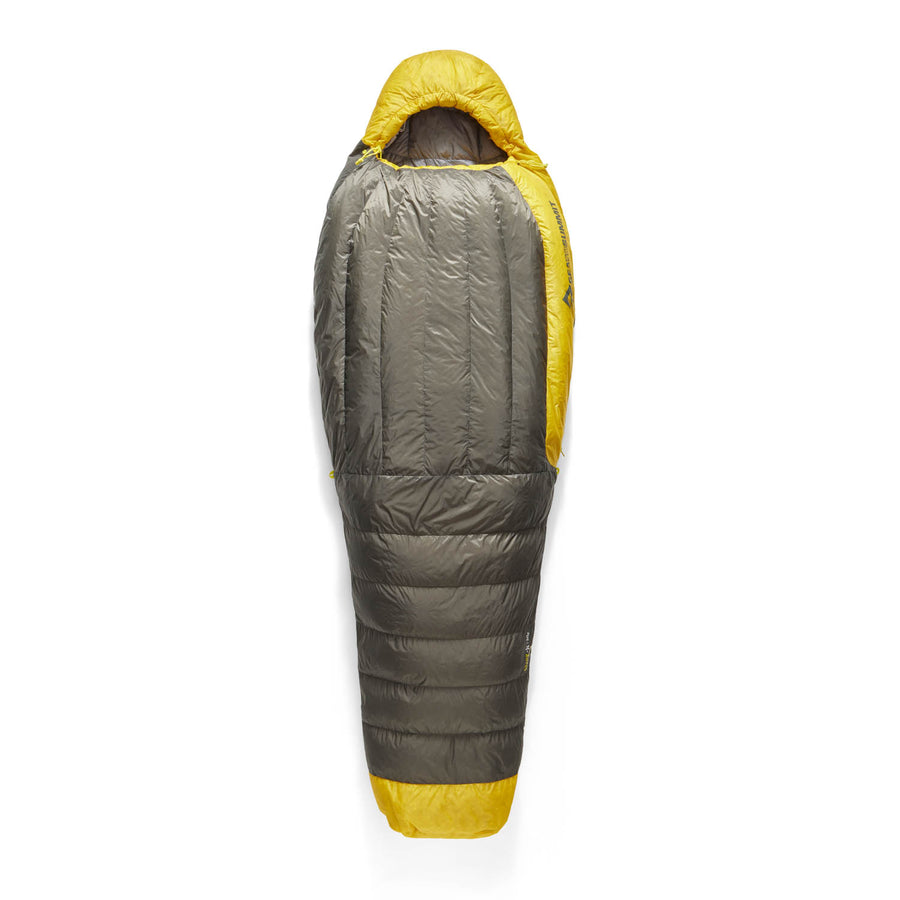
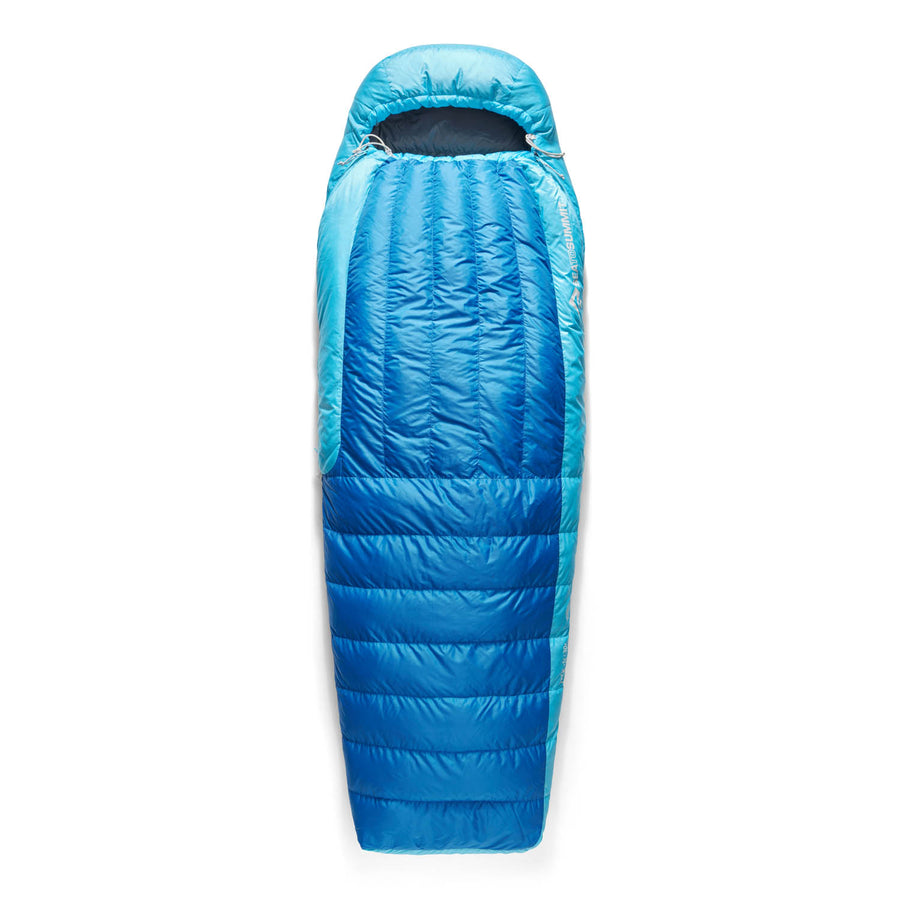
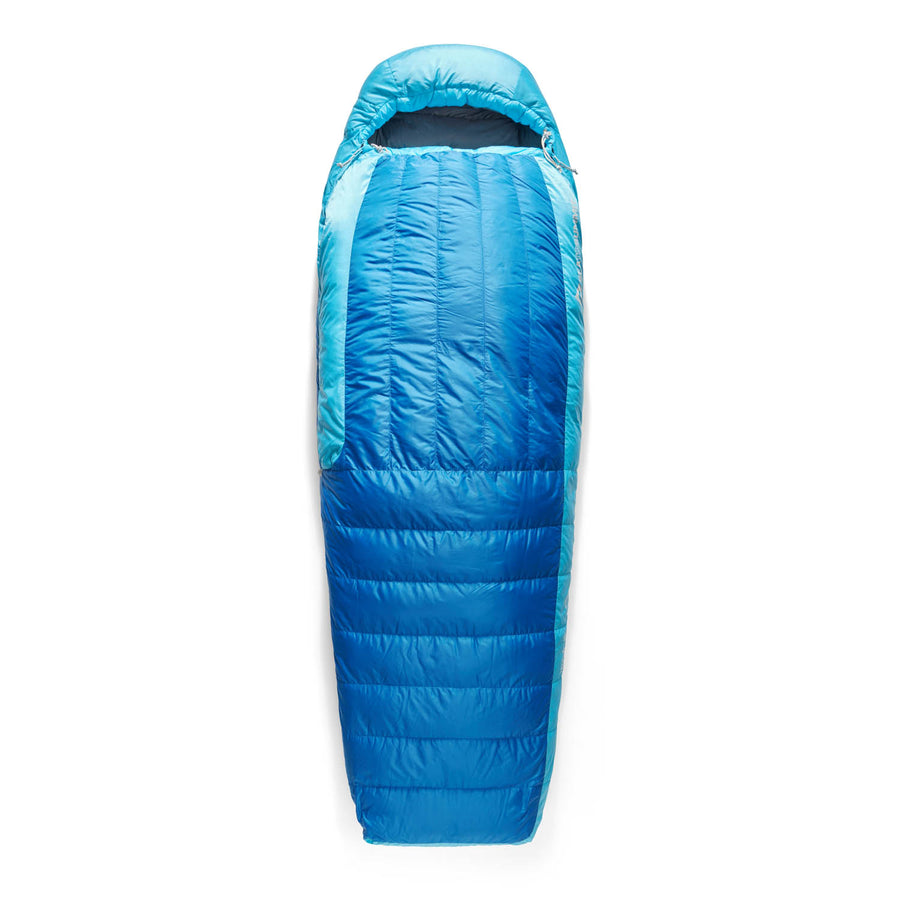
- If you are intending to use the hammock in colder weather, an underquilt is essential. As an alternative, a sleeping bag with footbox ventilation (such as the Ascent or Trek) allow you to have the hammock inside the sleeping bag, with the hammock suspension running through the footbox zipper.

Finding the perfect spot
Once you have your system, you’re ready to head into the backcountry to camp. The criteria for a good hammock campsite are the same as a tent campsite (which you can read about here) with one exception – you are going to need two sturdy trees to pitch the hammock. A set of Tree Protectors will keep the suspension straps from harming those trees, and are thus well worth the slight additional weight. Always look up to check for dead branches or trees which could fall on you before pitching your hammock system.
The two sturdy trees should be far enough apart to allow you to pitch your hammock with the straps approximately 30° to horizontal. This is where the infinitely adjustable Sea to Summit Suspension Straps really prove their worth – it’s much quicker and easier to get a correct pitch than with loop-and-carabiner straps (and of course, much less hassle than moving one of the trees).
Using a sleeping pad in a hammock can be challenging. The tubes or baffles of most air pad designs simply kink or crease as they are pushed into the curved surface of the hammock. A Sea to Summit Air Sprung Cell mat is much better in this regard; the cells mold themselves to the shape of the hammock. But – if the hammock does not have straps to prevent the mat from moving, it may well slide out from underneath you during the night.
A quick word about sleeping mats here: some of the consumer emails we have received ask about hammock camping as an alternative to ‘waking up stiff after sleeping on a sleeping pad on unforgiving hard ground’. If you are in this position, you owe it to yourself to try out an Air Sprung Cell sleeping mat for tent camping – they provide a far more comfortable ground sleeping experience than most other air or self-inflating pads. You can read why this is here.
"The biggest advantage of a hammock is comfort, hands down. I sleep so much better in a hammock compared to a tent. With a hammock, you just need two trees and you'll get a consistent sleeping position and a good night's sleep. The ground can be slanted, or wet, or rocky and you're just fine." - Jake Ferguson, The Gear Junkie
Sharing a hammock
Another question we often field is about two people sharing a hammock. It can be done – but it takes a while to learn (and – fairly obviously – it requires a double hammock such as the Pro Hammock Double) The trick (as one of the people who provided expertise for this article notes) is to have one person climb into the hammock first and lay at angle 30° to the centerline, then have the second person climb in and ‘spoon’ with the first sleeper. Sleeping in this configuration for an entire night can be challenging, especially if one person needs to get up for a bathroom break – because now it will be dark. This can involve occasional elbows to the ribs and the chance to be dazzled by a headlamp, so co-sleeping is not for every couple.
"Windy weather has always been a favorite for me because I love when Mother Nature rocks me to sleep. The patter of rain on my tarp is like a sweet lullaby too." - Meagan, REI Fort Worth
What about bad weather?
Many consumers have concerns around hammock camping in bad weather. If you are familiar with the principles of tarp camping, this will be relatively straightforward: in windy weather or during wind-driven rain, you move the tarp closer to the ground. This requires pitching the hammock as low to the ground as you can without it touching, and having the apex of the tarp relatively low overhead. The tarp should be pitched with the guys farther apart than in a fair-weather setup to keep the canopy angle as shallow as possible; one side of the tarp will be your windward side. The Hammock Tarp works well in situations like this, because one side (the windward side) has two stakeout points, and all guys can be adjusted from underneath the tarp which keeps you dry if you have to re-tension the guys.
Alternatively, you can opt for a larger rainfly which has ends which will overlap around your hammock, Jake’s technique is as follows: “If it’s getting nasty I opt for a “storm mode” configuration. Pitch the fly with the apex at a pretty steep angle and use some of the extra fabric in the corners as “doors” to close off the ends where your head and feet are”. For end-users who will often be hammock-camping in bad weather, the extra weight and bulk of a setup like this may be considered worthwhile.
Final Thoughts
The last point is to know the terrain you will be camping in. The people we interviewed for this article have hammock camped in all kinds of environments, including mountain regions. Clearly, the number one priority here is to make sure that there will be trees where you intend to camp. Those trees need to be sturdy enough to support your hammock system – which may exclude campsites closer to the treeline.

Hammock camping isn’t for everyone. But – with a little experience and the right equipment, it can be a really interesting alternative to a tent. Hopefully this article will have given you some tips towards choosing and using the right gear. If you have questions –
Just ask,
B
![Frontier Ultralight One Pot Cook Set - [3 Piece]](http://seatosummit.com.au/cdn/shop/files/FrontierULOnePotCookSet1P3Piece1.3LPotWithS-BowlandCup_ACK027031-122114_PRIMARY-1200x1200-9c6bd91.jpg?v=1749433473&width=900)
![Frontier Ultralight One Pot Cook Set - [3 Piece]](http://seatosummit.com.au/cdn/shop/files/FrontierULOnePotCookSet1P3Piece1.3LPotWithS-BowlandCup_ACK027031-122114_ADDITIONAL_1-1200x1200-9c6bd91.jpg?v=1749433473&width=900)
