The Ultimate Guide to Saving Space on Long Distance Bikepacking Trips

Saving space is undeniably the most difficult challenge us long-distance bikepackers face.
On my journey, temperatures have fluctuated between a sweltering 98°F to a bone-chilling 5°F. Preparing for such events doesn’t need to be complicated, though. You just need to get a little creative.

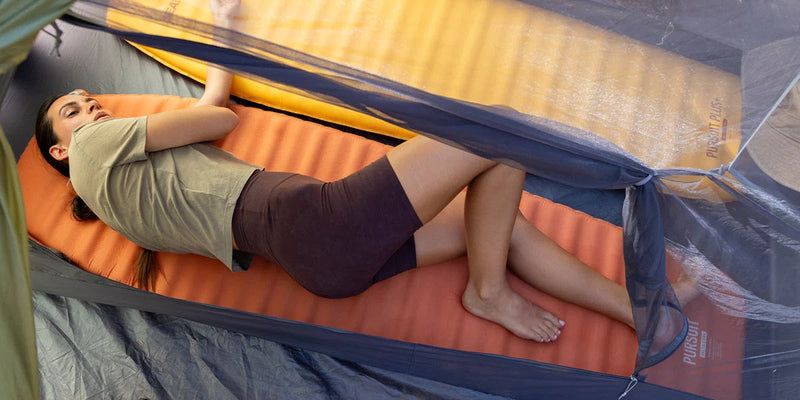
On longer trips, the key is sustainability. Comfort, rest and safety are more valuable than their given weight. You can’t put a price on sleeping well every night—or being dry when a torrent of rain greets your afternoon. Such things happen when you least expect it and it pays to be prepared.
So here are a bunch of tips to help you avoid carrying too much stuff, keep you comfortable—and avoid those mid-mountain meltdowns.
KNOW THAT ORGANIzED PACKING ISN’T THAT SPACE EFFICIENT
Whether it’s on an 18-day no-resupply epic or a long weekend, there never seems to be any room left in my packs. Every bit of space is used.
Before you start playing Tetris with your gear, it’s important to note that keeping things organised and accessible is difficult. Your stuff is always moving around your packs, depending on the distances between resupply, seasons and climate.

With bikepacking comes compromise regarding how accessible your gear is—but reward when you’re presented with single track, rocky descents or hike-a-bikes. I don’t use panniers (though I can see their merits!). I’m often squeezing apples, potatoes, oats, snacks and other goodies amongst my clothes in compression sacks or in my seat bag. When the time feels right, I move them to a more accessible place. For the weight savings and maneuverability of the bike, it’s a good balance.
FIND YOUR RIDE IDOL
Find someone who looks like they know what they’re doing on social media. If you’re going on a multi-year journey, find people on multi-year journeys who are riding what you want to ride. Look at their photos, terrain, weather conditions and how much space they have—then ask questions.
One of my favorite questions to ask is ‘what has kept you warm on your coldest night?’ One day, it’ll be your coldest night.

pack less clothing
It might be pointing out the obvious, but less stuff means more room. There’s no go-to clothing pack list for a world bike trip, but there is a wealth of information about what you can get away with in certain climates. ‘Think in your coldest outfit’ is the advice someone wiser than me once gave.
I found all the information needed on blogs of people doing similar trips. I brought along ‘sheddable’ layers, like a cheap second-hand wool jumper and extra socks for colder areas—and I donated them once it started getting warm.
For longer trips, I like the luxury of a clean shirt or two, some sleeping socks and an extra set of pants for days off. If nights get cold, I’ll wear extra clothes and rain gear to trap all the heat in.
plan for the 80%
Plan your gear to be comfortable for 80% of the time. There will always be places that are the outliers—with days where the temperature plummets—but you can always pick up a cheap down jacket and a few extra layers when needed.
Bikes are hollow, which lends itself to lots of potential storage options.
SHARE THE LOVE WEIGHT
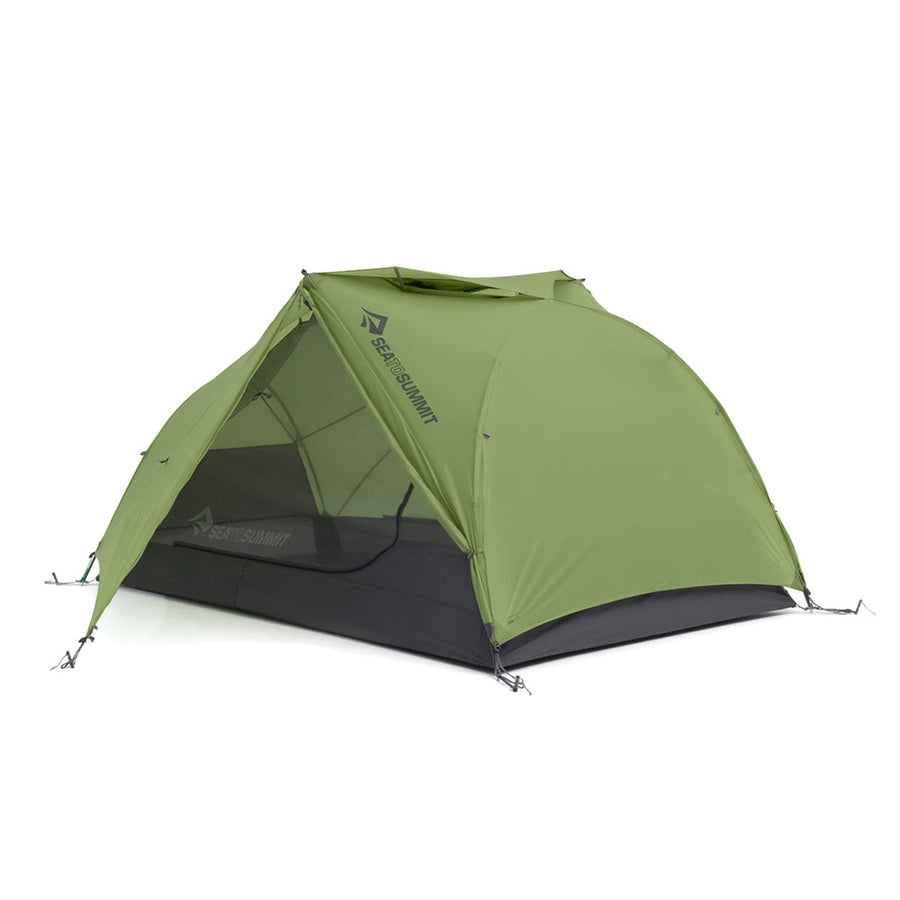
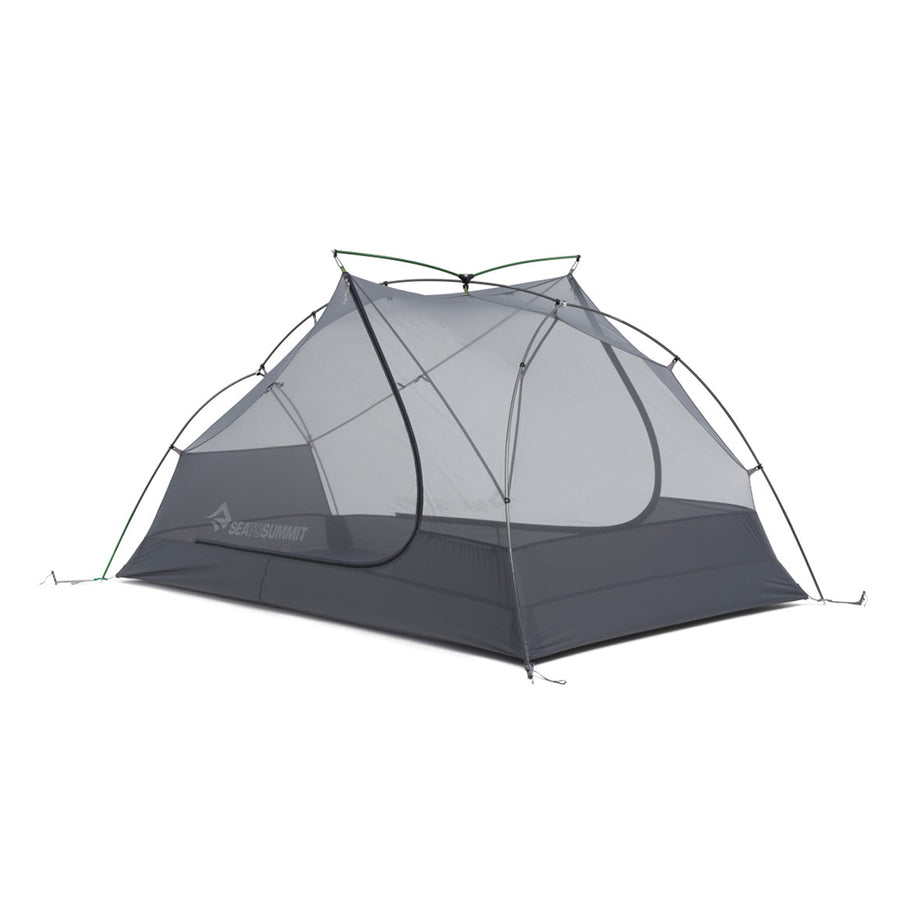
Halve those tools (not with an angle grinder)! Take one tent, share a cooking system, knives, forks, toothbrush —take your weight shaving relationship as far as you like.
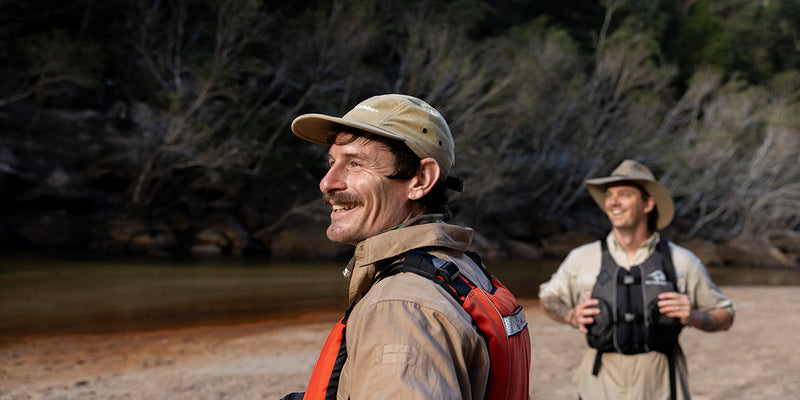
Taking someone along to share the fun is the easiest way to save weight and space. It also makes for some good memories—as well as making the journey a little safer.
DISCOVER THE MAGIC OF COMPRESSION SACKS
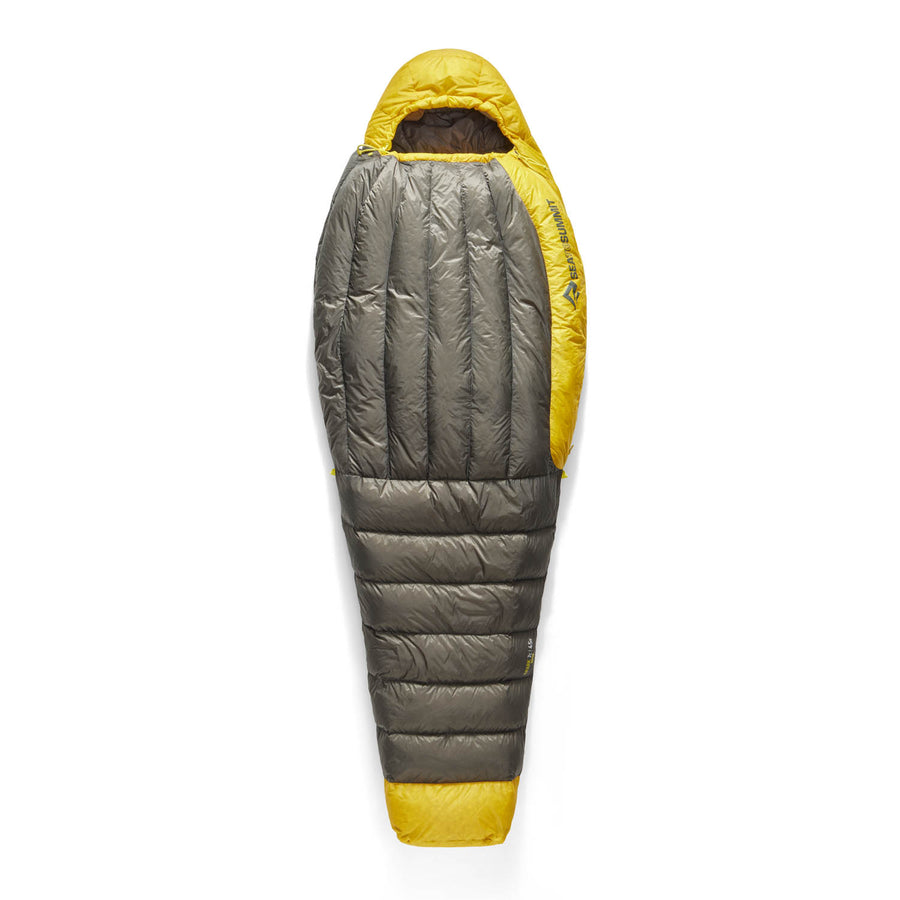
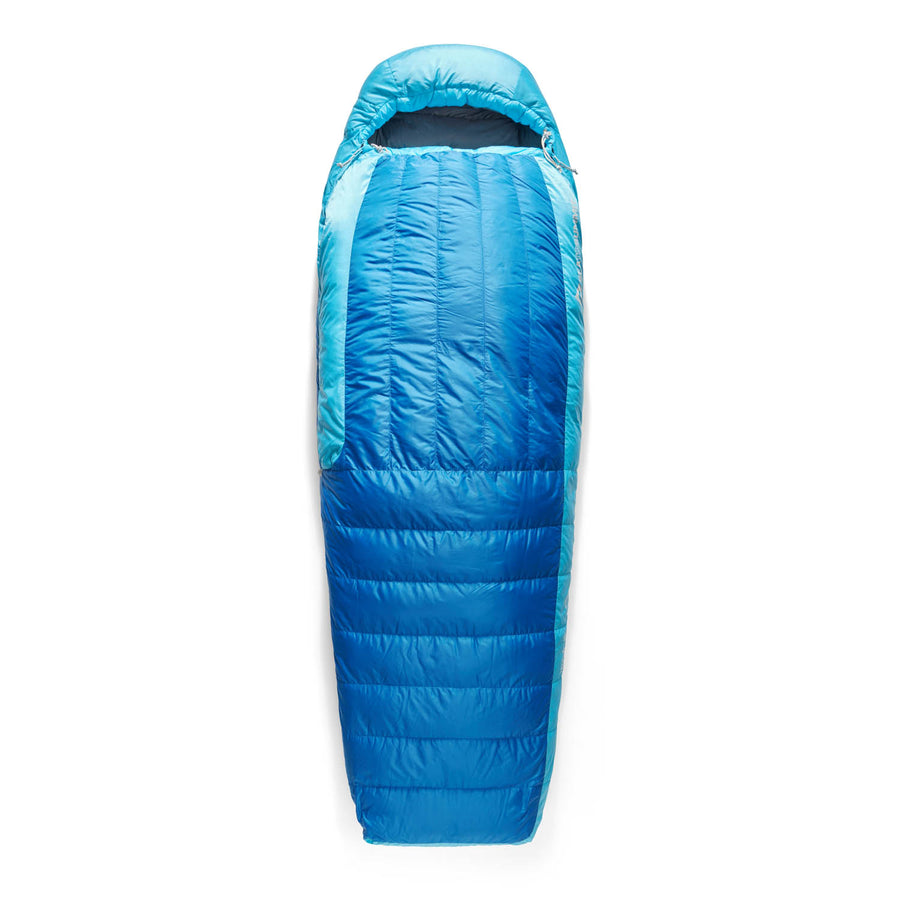
For your clothes, rain gear, tent, sleeping bag and all those other bulkier items, compression sacks are an easy way to gain an incredible amount of space. You’ll get satisfaction watching your lofty sleeping bag nearly vanish before your eyes. To save space, I leave all my sleeping clothes and pillow in my sleeping bag. I’ll sometimes put my down jacket in there too. This doesn’t add much extra bulk and it allows easy access to everything you need at bedtime.

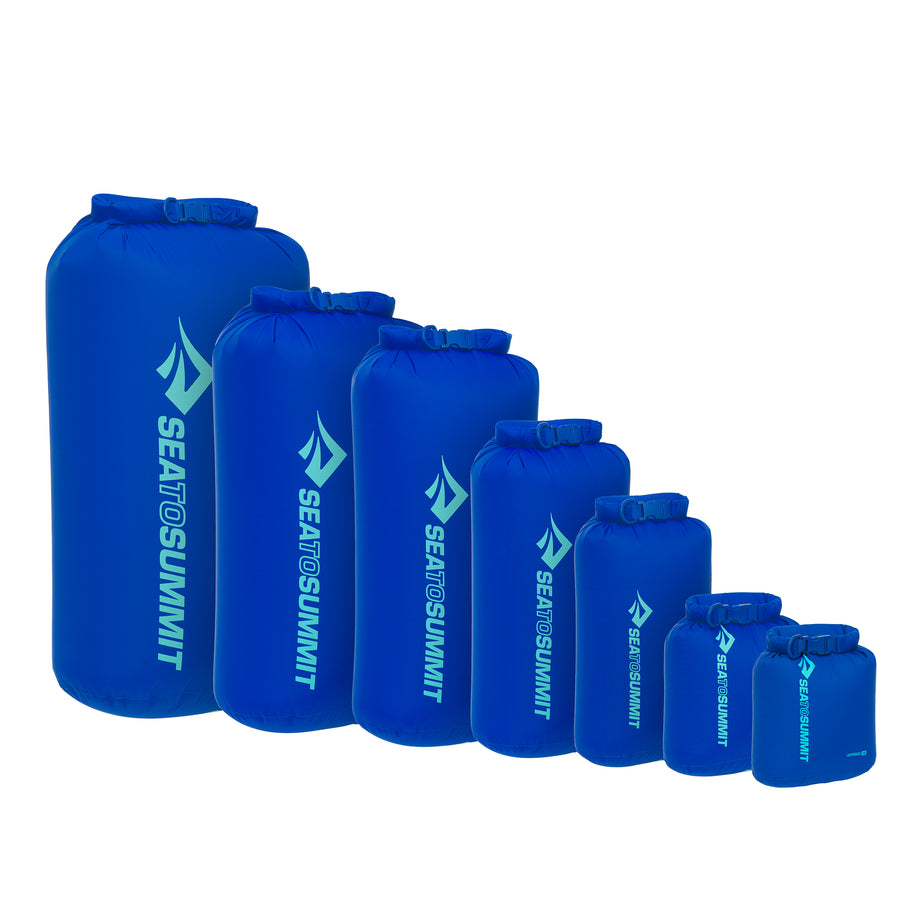
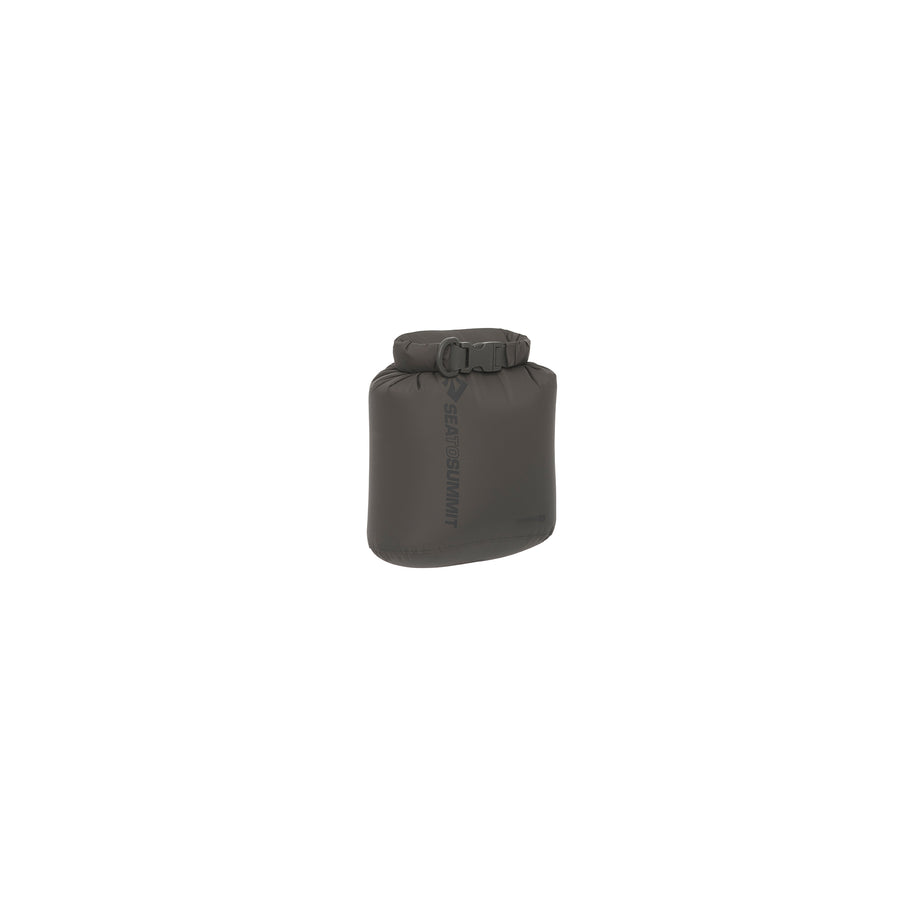
USE DRY SACKS FOR EVERYTHING
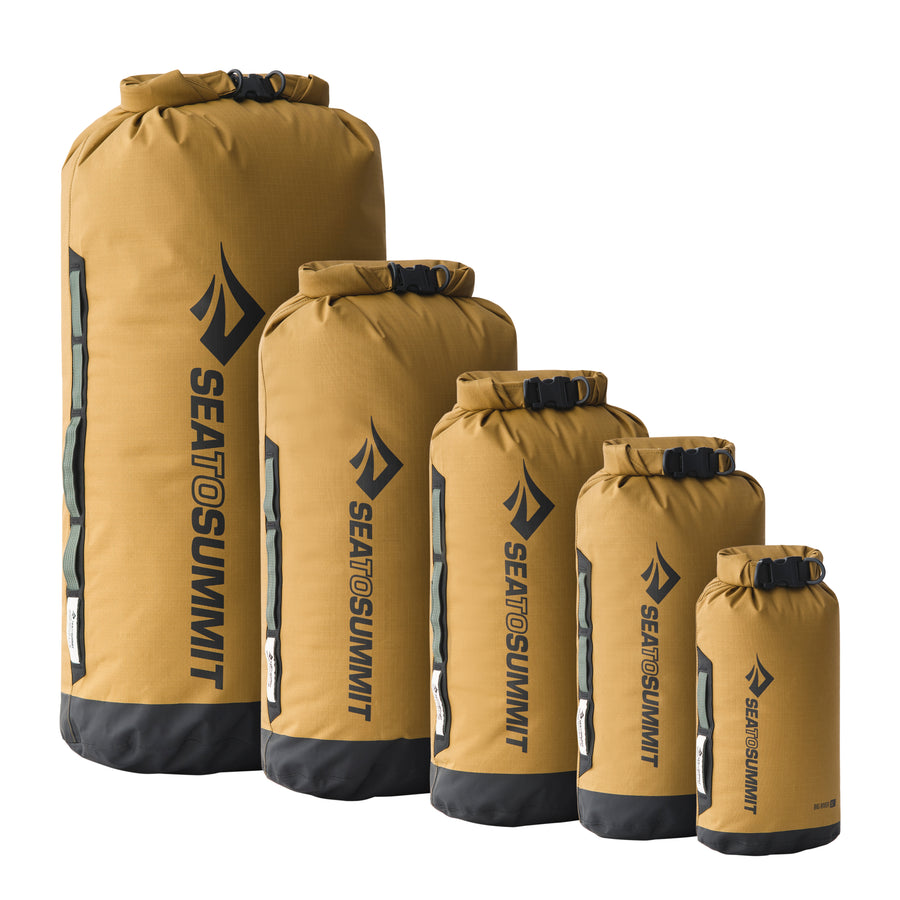
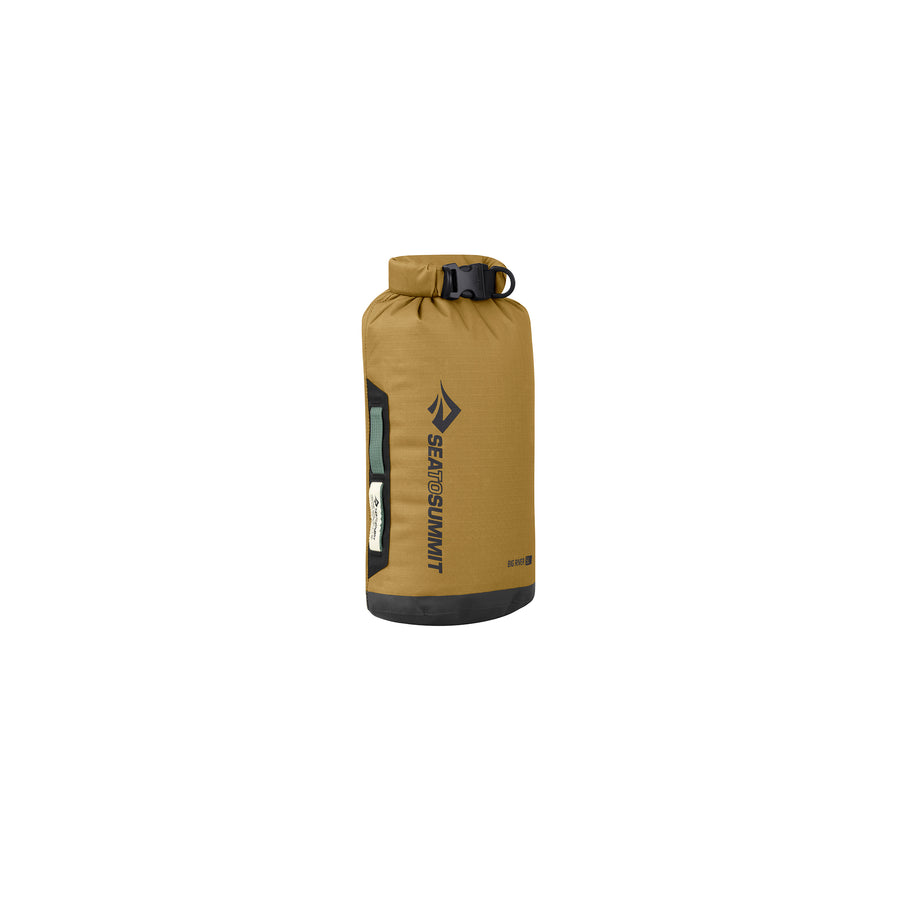
Fill them with what you can, strap them where you can. I’m really enjoying the 5L Big River Dry Bags mounted on the forks. One contains my cooking system and food, the other contains some extra warm weather gear. There always seems to be room after a few days, that’s when things become a little more organized.
When these bags are empty and I’m getting close to a town, they make very useful shopping bags. They also stop me buying too much food!
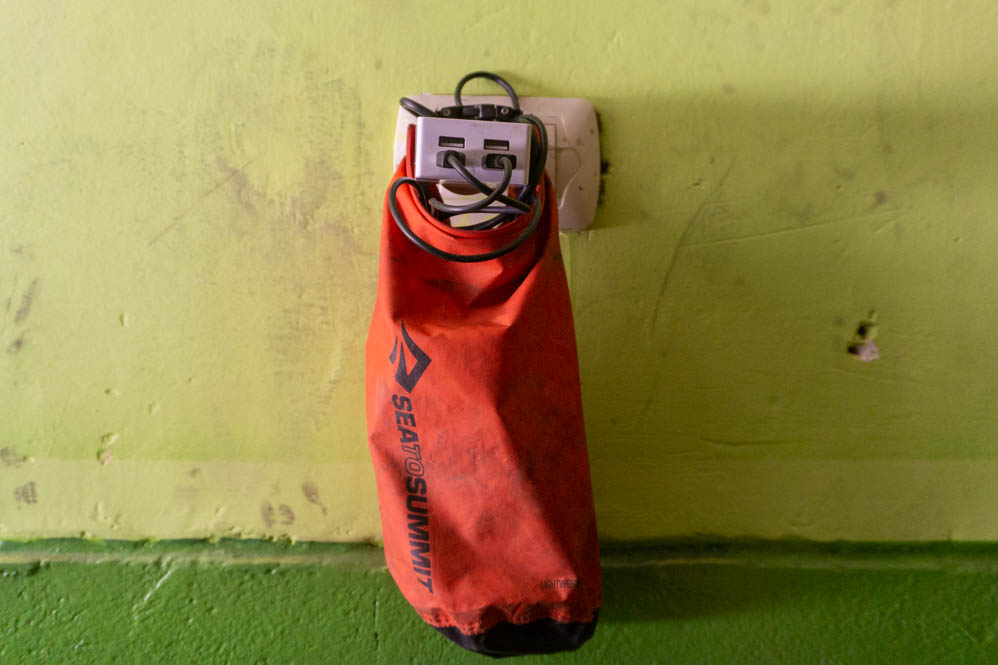
Hot tip: If power points are high off the ground, I put chargeables in a dry sack and click it over the wall mount. This means you can keep all your cables nice and short. Voila!
ANGLE GRIND STUFF AND CUT THE ENDS OFF THINGS
I started to do this as a bit of a joke, but surprisingly it actually makes packing a little easier.
You don’t really need the convenience of long stuff. My toothbrush is cut in half so it fits in my top tube bag. I have a small cut-to-size shifter and my webbing straps are all only as long as they need to be.

UTILIzE THE NOOKS AND CRANNIES
Bikes are hollow, which lends itself to lots of potential storage options. I store brake cables, gear cables and spokes inside my handlebars. I even met one guy that stores his poles in his seat-post. I found out later it was because he lost his last set of poles and needed to buy the whole new tent for another set. You can never be too safe.
I strap my tent pole to my top tube and on the downtube I strap a seven-piece fishing pole, spare sealant, chain lube and sometimes cooking alcohol and olive oil. There’s a whole lot of vacant prime real estate on bike frames that make essentials accessible. You just need an observant eye, an old bit of inner tube and the right shaped object.

Spare tubes and tool kits can usually find a place somewhere outside too—I cover mine in some old shirt material below my seat-post bag.
For the longer routes without resupply, I soak lentils in a wide mouth bottle, strapped to my front rack. I’ve also taped pasta to the frame, under the handlebars.
String and L-brackets can make some ingenious bottle mounts for longer trips without resupply. Using some hose clamps, an L-bracket can become a support for a 1.5L water bottle when attached with a strap or two. During my time in the north-west Argentinian Puna, I needed capacity for three days water—a heavy 13L.
go up-top
Some 5L dry sacks make great expandable storage on top of a seat-post bag or riding the handlebars. I store all my raingear, some gloves and another merino layer in a red 5L dry sack, which sits perfectly atop my handlebars.

opt for collapsible water storage
I’ve become very jealous of people who have collapsible water storage. Bladders are incredible for long stretches without water, and also for making camp a little more luxurious. They seem to be able to be strapped anywhere and can also function as part of a larger water filtration system, serving two purposes!
CHOOSE FOOD THAT PACKS NEATLY
Air takes up a lot of space—so do awkward shapes. Long pasta, rice, lentils and oats are all fantastic for storage. Penne pasta, not so much. Taking into account your space availability (and trip), thinking about the packability of food items can save a lot of room.

If only going for a night or two, try cutting up your vegetables and zip-locking them with a little water. This will not only save you loads of space; it will ensure your veggies don’t dry out.
For trips from home, veggie dehydration is a winner.
visit the store—TWICE
For longer trips, I often write a shopping list, head out and buy all the bulky stuff and other essentials, pack them on the bike, then see what room I have left. Then I head out again for a few more items.

This usually ensures that I’m not taking too much, or if I have too much, I can cut back in other places. It also allows fruit and veggies to find their way into my bag. As an added bonus, it also helps ensure I don’t forget anything.
I usually have enough for one extra meal, just in case. An extra ‘safety’ meal can become emergency rations should disaster strike.
CUT OUT SINGLE-USE PLASTIC
You’d be surprised how much space your rubbish takes up. To avoid creating too much, I have some resealable bags that I like to empty things into. Oats, rice, pasta, lentils and scroggin mix all have their own bag.
If you want to go a step further, I’ve even seen people store pasta and rice in bottles mounted in bottle cages. If you’re not short on water, it’s a great idea.
DISCOVER STACKABLE AND COLLAPSIBLE GEAR
Stackable and collapsible is leading the way in packability. It’s just so much smarter.
I’ve only just jumped on board this train—with a collapsible X-Mug and X-Bowl (which also functions as a chopping board). This set-up fits well when stowed in my stainless-steel Sigma cooking pot. This means my coffee tastes more like coffee than dirt (it collected a lot of debris strapped to the outside).
These collapsible and nesting camp kitchen items take up such minimal space in a frame bag. Leaving more room for other essentials—like coffee!
Simply plan smarter, cut down on luxuries and the ‘just in case’ gear and adapt as you go.
put your back into it
The easiest solution for making extra space is a backpack. When I’m carrying fragile items like tomatoes, spinach and bananas, they go into my backpack. There is nothing worse than finding squashed veggies four days in—a crippling blow to even the strongest soul.
I have a small Sea to Summit Nano Daypack that’s perfect for the job, weighs nothing (1oz) and packs down to the size of a golf ball. It also happens to open up to an 18L capacity, making it the perfect grocery bag.
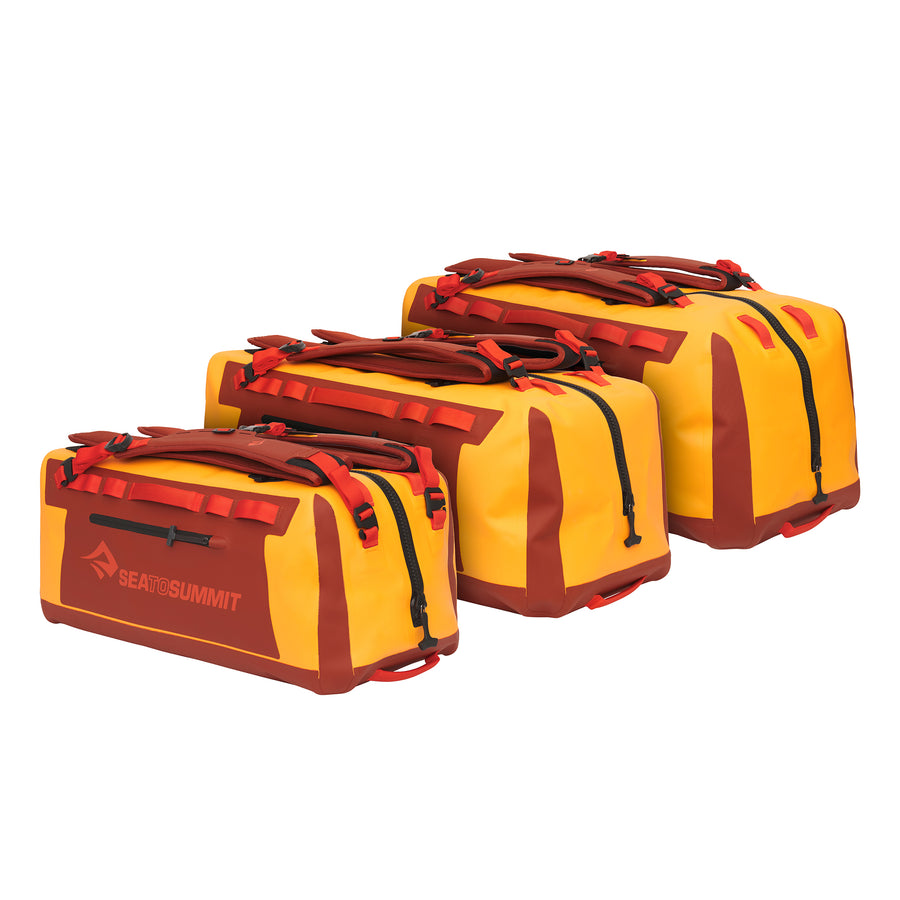
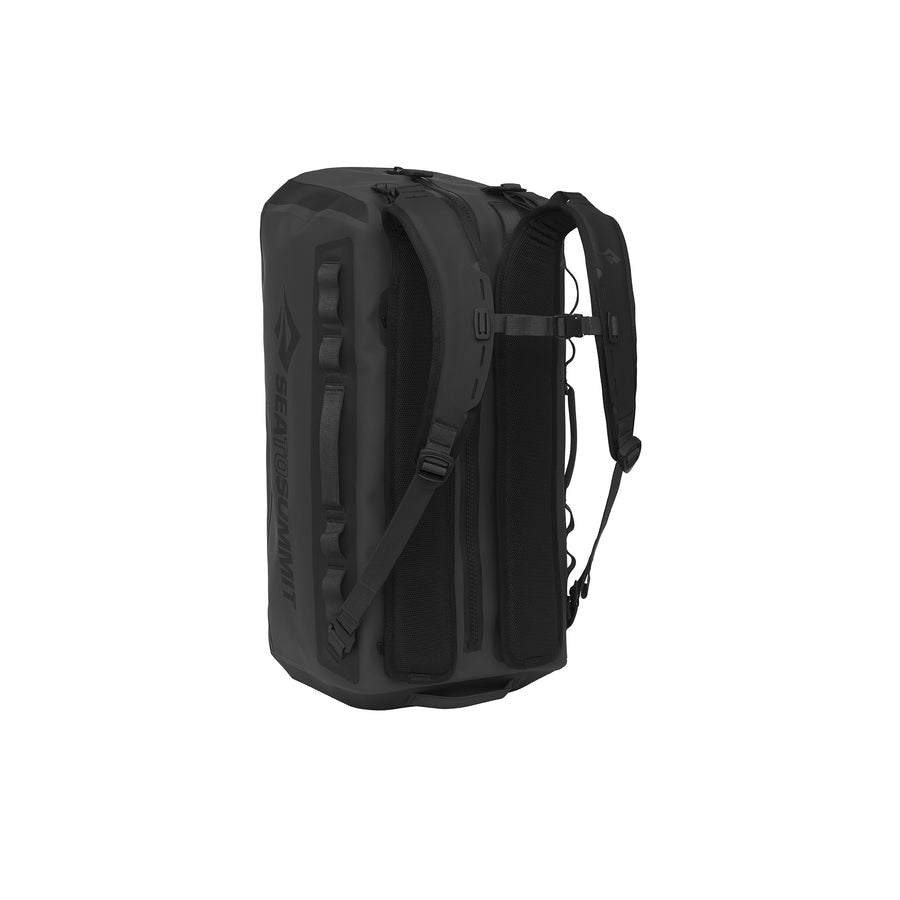
For longer hike-a-bikes, I can remove my Hydraulic Dry Bag from my bike, attach the removable harness and use it as a surprisingly comfortable and convenient backpack. This helps so much when navigating tricky uphill terrain—and makes handling a little easier on the technical downhills.
As a last resort, if you’re really short of space, you can store bulky-lightweight jackets and your sleeping bag in a backpack to free up room for a few days. Though, over time, the extra weight can add to your discomfort and lead to saddle sores. It works well in cold climates when you’re pushing a bit and the days aren’t so long, I wouldn’t recommend it for warmer climates.
set up basecamp
One method that I’ve become a fan of lately is base camping.
Mainly used by those wanting to explore an area really well, a good base camp can be your link between single tracks, natural mountain contours, rivers and the gravel in one area. A secure, bike-friendly hostel becomes your ‘base camp’ where excess gear can be stored—affording less stuff and limitless possibilities for easier exploration.

Essentially, you have your conventional bikepacking setup for touring, then an adaptable lighter version. One that’s set-up to go lighter, to get more remote, move faster and cover more ground.
MASTER THE ART OF THE ‘BASECAMP BIKE’
I have one bikepacking setup for touring and another dialed-down version that helps me travel lighter, faster and more remote.
I eliminate extra clothes and some tools for the dialed-down version, giving me enough room to change the front black Hydraulic Dry Bag (with detachable harness), to a medium Compression Dry Sack. This saves me a kilo or two, whilst still allowing me to carry five days’ worth of food.

Some of my friends are able to remove a whole rear rack assembly with mini panniers and replace with a 13L dry sack that functions as a seat-post bag.
Another way to lighten the load is to send your clothes or excess gear on by post. If you have contacts, it seems like a great way to make your life a little easier for the warming of the seasons.
a final word
If you’ve got the creative eye, there are endless opportunities to save space. It’s all about thinking smarter, cutting luxuries and the ‘what if’s’, having a plan and being adaptable. Everyone’s different, but I guarantee you’ll learn all you need to learn out there. So go learn stuff! Get out there and ride your bike!


![Frontier UL One Pot Cook Set 1.3L - [3 Piece]](http://seatosummit.com.au/cdn/shop/files/FrontierULOnePotCookSet1P3Piece1.3LPotWithS-BowlandCup_ACK027031-122114_PRIMARY-1200x1200-9c6bd91.jpg?v=1749433473&width=900)
![Frontier UL One Pot Cook Set 1.3L - [3 Piece]](http://seatosummit.com.au/cdn/shop/files/FrontierULOnePotCookSet1P3Piece1.3LPotWithS-BowlandCup_ACK027031-122114_ADDITIONAL_1-1200x1200-9c6bd91.jpg?v=1749433473&width=900)


![Frontier Ultralight Collapsible One Pot Cook Set 1L - [3 Piece]](http://seatosummit.com.au/cdn/shop/files/FrontierULCollapsibleOnePotCookSet3Piece-1L_ACK025031-122107_PRIMARY-1500x1500-993ca30.jpg?v=1737531193&width=900)
![Frontier Ultralight Collapsible One Pot Cook Set 1L - [3 Piece]](http://seatosummit.com.au/cdn/shop/files/FrontierULCollapsiblePot-1L_ACK025021-380603_MODEL_1-1500x1500-da33726_9f7fdd69-5f55-4867-94f4-153daeef692f.jpg?v=1744862639&width=900)